I found a lot of pi cam mounts for the ender 3, but i didnt like the ones for the y-axis, cause there is a lot of motion and vibrations that results in a bad video quality.
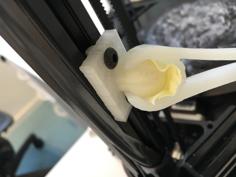
In my opinion, better use a mount on the x-axis!
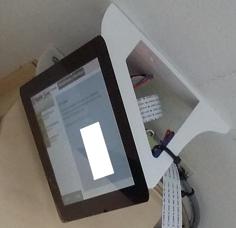
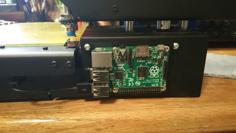
And also i wanted a cam mount on the right side, cause there is a good position for the raspberry case under the LCD-screen.
Also a very important thing for me was, you should be able to attach it without touching any construction parts on the "Ender 3" like the belt-tensioner or the guide-wheels.
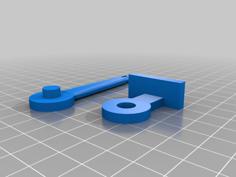
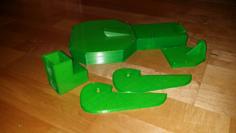
So i decided to create my own one, and this is the result!
=======================================
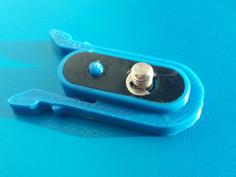
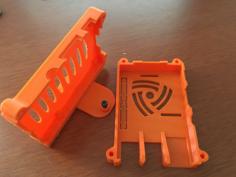
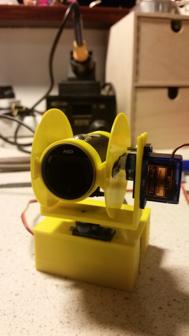
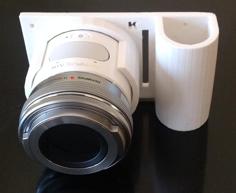
Pi Cam's are typically set to infinty focus at the factory and glued in place. Be patient and remove any obvious glue in between the lens and square lens mount, then fit it securely in the housing.
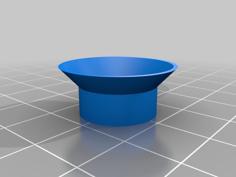
Use a focusing tool such as this one:
https://www.thingiverse.com/thing:1570865
to turn it clockwise. Make a quarter turn then test, repeat until happy. I recommend you have the head in the middle of the bed and hold the camera at the edge for your tests.
=================================================================
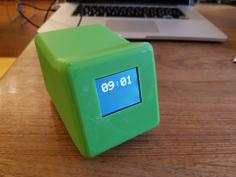
I really like the raspberry case from "Giacomo Cavasin" so many thanks to you for this great work!
I like the design and you dont need screws to attach it to the "Ender 3"!
If you want the same configuration like me there 2 versions of this case:
=====================================
Update v1.1
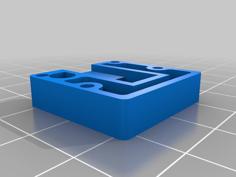
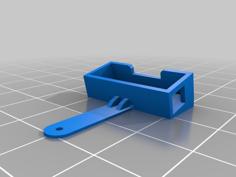
Added a slotted version of the front PiCam case, cause it seems like there is a problem with not original Pi-Cams. The cable from board to lens is not long enough to fit correctly.
This should solve the problem!
Many thx @Icolederrick
=====================================
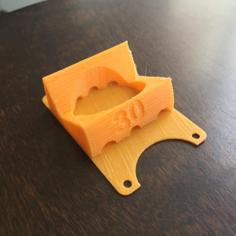
Update v1.2
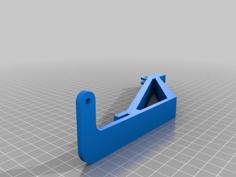
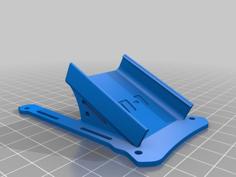
Added a second version for the pi cam mount, with more clearance between the hotend and the camera (+12mm). Some part coolers like the "Petsfang" & "Bullseye" seem to crash into the camera housing during autobed leveling.
Many thx to "acwest"point out that problem and for his solution!
=====================================
| PiCam_-_Housing_front_slotted.stl | 58.9KB | |
| PiCam_-_Housing_rear_slotted.stl | 38.3KB | |
| PiCam_-_mount_v1.stl | 93.4KB | |
| PiCam_-_mount_v2.stl | 75.4KB | |
| PiCam_v1_-_Housing_front.stl | 98.9KB | |
| PiCam_v1_-_Housing_rear.stl | 38.3KB | |
| PiCam_v2_-_Housing_front.stl | 94.1KB | |
| PiCam_v2_-_Housing_rear.stl | 34.8KB |