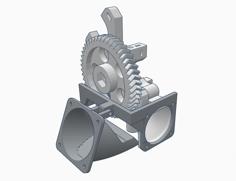
Ender 3 V2 Cluck Duct Fan Shroud BL/CR Touch 3D Printer Model
The file 'Ender 3 V2 Cluck Duct Fan Shroud BL/CR Touch 3D Printer Model' is (STL) file type, size is 4.4MB.
The file 'Ender 3 V2 Cluck Duct Fan Shroud BL/CR Touch 3D Printer Model' is (STL) file type, size is 4.4MB.
V3 UPDATE:
Updated to accommodate CR Touch. Hopefully, a BL touch will work - Standard metal bracket used.
Reversible top fan cover for fans with wiring on the other side.
Front Fan cover updated to accommodate new profile.
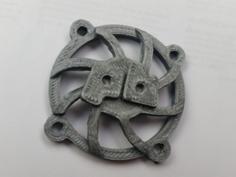
No logo file for those who don't want the chicken logo.
6, Improved airflow direction to the nozzle.
The top fan can be reused if replacing V2 or V1 parts. The front fan cover needs reprinting.
Photos and instructions not updated, but
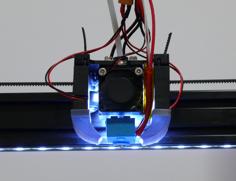
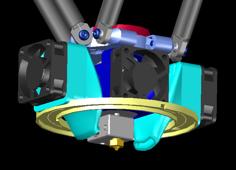
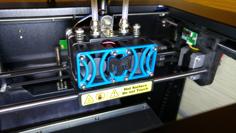
Cluck Duct Ender 3 V2 duct/shroud.
MAKE SURE YOUR X AXIS CARRIAGE HAS THE RECTANGULAR HOLE FOR THIS TO WORK.
Summary:
Does not require any supports to print
Clips into place without fixings - Clips onto the ender 3v2 carriage - check your carriage has the rectangular hole below the left wheel (as you look at it)
Only uses the fan screws to hold the fans in place.
Designed to fit 4020 fans for quiet running.
Capable of good bridging (standard for using radial fans but if you want extreme bridging you will need to use a blower-style duct).
Filament cooling fan shroud clips into place
Hides Noctua fans (i don't like the brown!)
Important - Check your x-axis carriage has the rectangular hole below the left wheel (as you look at it)
Printing Instuctions
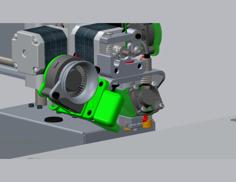
Image shows the suggested orientation to avoid the need for supports
Fan covers print without an additional brim
The main body needs a brim but I would recommend printing a skirt with a 0mm distance from the part to avoid the brim on the inside of the part.
I've printed in PETG but many people seem to find PLA fine for similar shrouds.
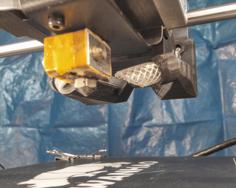
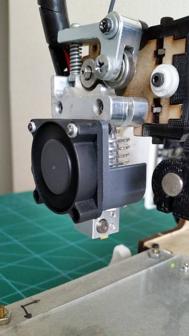
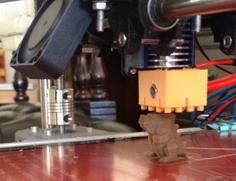
Assembly Instructions - Photos show stages to put in position.
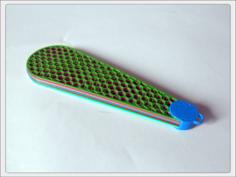
*Top fan just pushes into place. Use the scraper blade to lever apart if you want to remove it.
Suggestions for improvement are welcome to develop the part.
| Cluck_Duct_Main_Body_V3.STL | 6.0MB | |
| Cluck_Duct_Main_Body_V3_No_Logo.STL | 4.6MB | |
| Cluck_Duct_V3_Front_Fan_Cover.STL | 211.4KB | |
| Cluck_Duct_V3_Top_Fan_Cover.STL | 255.7KB |