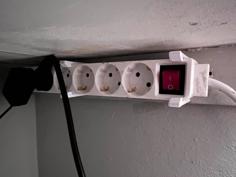
The Ender-3 is a great beginner-friendly, cheap 3D printer, everyone knows that. However it lacks in not having a dual-Z leadscrew. Fortunately there is a good availability of dual-z upgrade kits for the Ender-3. After snagging one for myself and putting it on the printer, I realized there's no good location for the power supply to be mounted without some work. So I embarked on this quest to create a mounting setup for the power supply to be mounted underneath the y-axis in the rear.
For this upgrade, you will need:
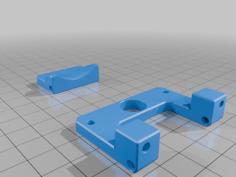
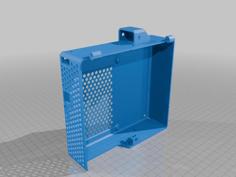
Note: there are two version of the Bottom Mount. I noticed some dimensions were a little tight with V1, so I adjusted it with V2. Both should work.
Building steps:
See pictures above to guide the build.
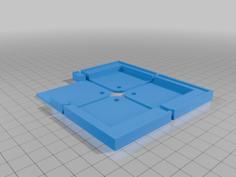
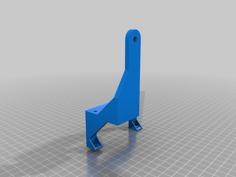
Print the Top and Bottom Mounts as shown in their different orientations. I went with orientation 1 for the Bottom Mount and had some minor bridging issues that had to be removed to make work. Orientation 2 requires supports.
Next, unplug the power cord from the printer, and keep unplugged! Unplug the XT60 connector. Move the print bed forward so that the rear of the printer is easy to work on.
Remove the power supply (PS) from the old plastic housing and disconnect Live, Neutral, and Ground wires. Not a bad idea to take a picture of how the wires were connected prior to taking them out. Remove the power entry module (PEM) (part which has the ON-OFF switch and the cord plugs into) from the old housing.
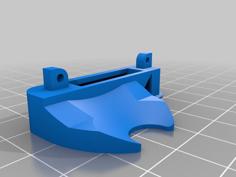
Put the PEM into the 3D printed Bottom Mount by routing the wires through first until they stick out the opening for the PS. You might have to bend some of the wires to fit.
Reconnect PEM wires to the PS in the same orientation previously in.
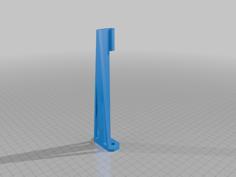
Slide the PS into the Bottom Mount and secure with screws previously used. Next, slide the Top Mount onto the top of the PS. Pre-position the T-nuts in the aluminum extrusion and slide the PS assembly over the bottom frame of the printer, over the T-nuts.
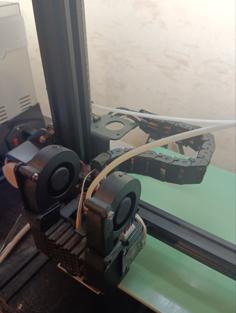
Align the T-nuts and screw in the M4x8 screws, two on each mount. Reconnect the XT60 connector. Plug in the power cord, and flip the switch to check for functionality. Move the bed by hand to check that there are no wires getting in the way.
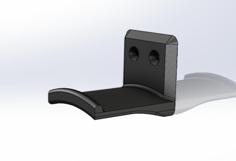
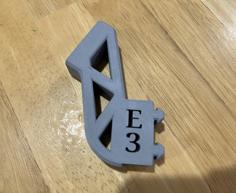
| PS_Top_Mount.stl | 32.7KB | |
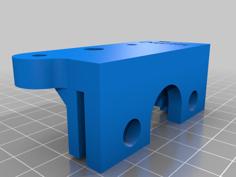
| PS_Wire__Power_Entry_Switch_Housing_Bottom_Mount.stl | 101.2KB | |
| PS_Wire__Power_Entry_Switch_Housing_Bottom_Mount_V2_-_Looser_Tolerences.stl | 114.0KB |