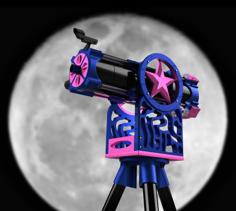
Electronic Focuser For Telescope 3D Printer Model
The file 'Electronic Focuser For Telescope 3D Printer Model' is (stl) file type, size is 921.8KB.
The file 'Electronic Focuser For Telescope 3D Printer Model' is (stl) file type, size is 921.8KB.
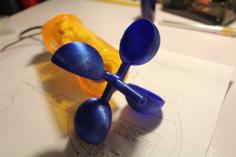
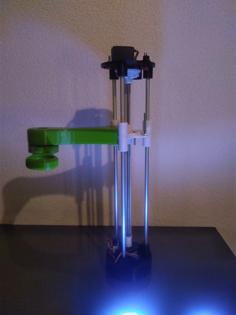
Electronic focus upgrade for telescope.
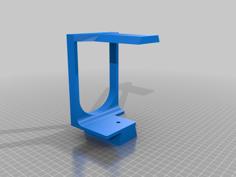
This was modeled to fit on a Skywatcher 150/750 focus tube
If you have a radically different focus tube you will need to modify the motor bracket.
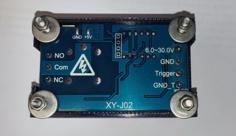
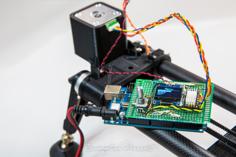
As the name suggest, it is not all mechanical so for this project you will need a bit of material including a small Arduino or a µC with a pwm pin.
To keep everything clean, I will focus here on the 3d printed parts, I explain everything about the electronic & programmation part on this Github page
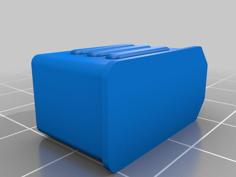
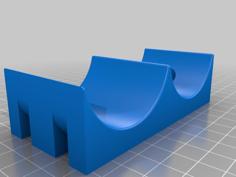
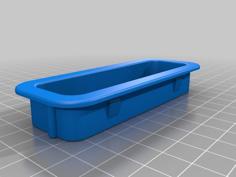
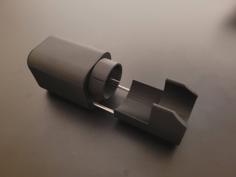
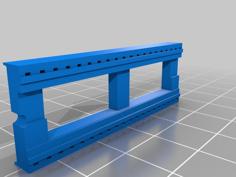
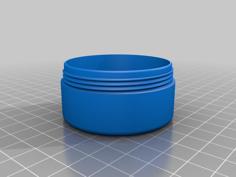
Here is the detail of parts:
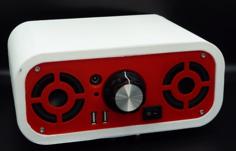
One of the goal of this project is to keep the installation simple and be easily removable.
Let me know if you have any questions
Amélioration électronique du focus d'un télescope.
Celui-ci a été modélisé pour s'adapter à un tube de mise au point Skywatcher 150/750.
Si vous possédez un tube de mise au point radicalement différent, vous devrez modifier le boitier du moteur.
Comme son nom l'indique, tout n'est pas mécanique donc pour ce projet vous aurez besoin d'un peu de matériel dont un petit Arduino ou d'un µC avec une broche pwm.
Pour que tout reste propre, je vais me concentrer ici sur les pièces imprimées en 3D, j'explique tout sur la partie électronique & programmation cette page Github
Voici le détail des pièces :
L'un des objectifs de ce projet est de garder l'installation simple et d'être facilement démontable.
N'hésitez pas si vous avez la moindre question
| Axle_adapter.stl | 143.2KB | |
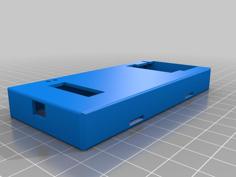
| Case_bottom_45_3x44_3x18_.stl | 78.2KB | |
| Case_up_45_3x44_3x18_.stl | 29.8KB | |
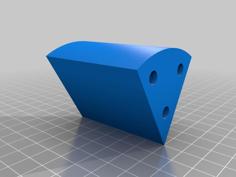
| Motor_bracket.stl | 66.3KB | |
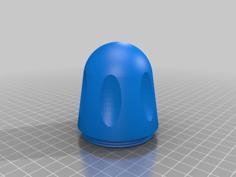
| Potentiometer_knob.stl | 549.2KB | |
| Screw.stl | 1.2MB |