Easy Change Nozzle Wiper 3D Printer Model
The file 'Easy Change Nozzle Wiper 3D Printer Model' is (stl) file type, size is 62.9KB.
The file 'Easy Change Nozzle Wiper 3D Printer Model' is (stl) file type, size is 62.9KB.
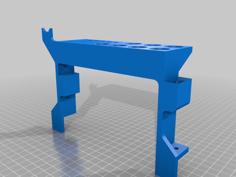
Edit: 27/12/2024 - Now with Brush Holder V2!
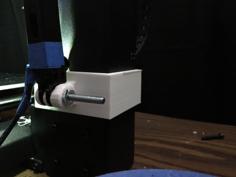
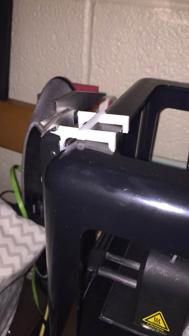
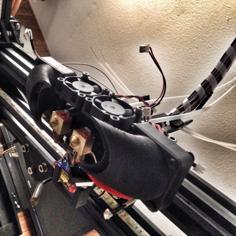
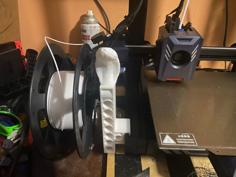
Mounts to the Y-carriage using the hot bed springs, little bit of double sided tape and a binder clip.
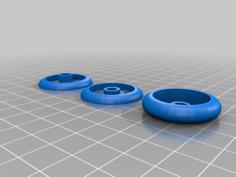
The Silicon wiper is attached via magnets - easy to remove for cleaning or changing the silicon wiper.
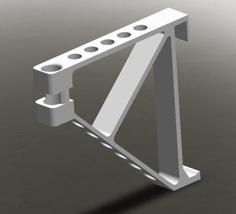
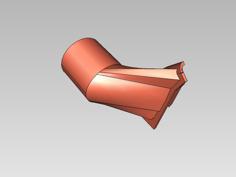
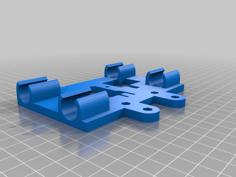
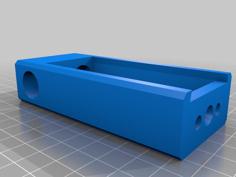
NOTE: Use the NOZZLE_WIPER_MOUNT file as reference and create your own mount for your printer's Y-Carriage. When you design the Y-Carriage mount make sure it is tall enough where the only the bristles of the brush is above the hot bed.
See the two that I made for my printers.
NOZZLE_WIPER-MOUNT_I3 - WanHao Di3
NOZZLE_WIPER-MOUNT_TEVO - Tevo Tarantula (non-pro/large bed)
Things you'll need:
For brush holder V2 add:
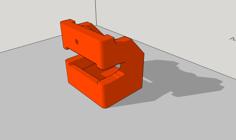
First print out the NOZZLE_WIPER_HOLDER and the NOZZLE_WIPER_MOUNT.
Do a test fit and make sure all the parts and magnets fit together properly.
Assuming all fits well - print out your printer's Y-Carriage NOZZLE_WIPER_MOUNT.
For brush holder V2:
It has the same magnet ans slot spacing so just plop it it on your mount.
I'm using Klipper so here's the little Macro I came up with.
To figure out X,Y,Z,E - manually run the G1 commands to your liking before trying the Macro.
<blockquote>
<p>[gcode_macro WIPE_NOZZLE]</p>
<p>gcode: </p>
<p> G90 # Use absolute coordinates </p>
<p> G1 X## Y## Z## F7500 # Linear move to brush </p>
<p> M83 # Set extruder relative </p>
<p> G1 E## F600 # Prime nozzle </p>
<p> G1 F10000 # Set move speed </p>
<p> {% for i in range(3) %} # Start clean and wipe 3x times </p>
<p> G1 X## </p>
<p> G1 X## </p>
<p> {% endfor %} </p>
<p> G1 X## # Move away from brush </p>
<p> G1 E-## F600 # Retract filament </p>
<p> G1 X## Y## F10000 # Move towards center of build plate </p>
<p> M82 # Use absolute coordinates </p>
<p> G90 # Use absolute coordinates </p>
</blockquote>
| NOZZLE_WIPER-MOUNT_I3.stl | 80.8KB | |
| NOZZLE_WIPER-MOUNT_TEVO.stl | 80.8KB | |
| NOZZLE_WIPER_BRUSH_HOLDER_V2.stl | 53.2KB | |
| NOZZLE_WIPER_HOLDER.stl | 41.5KB | |
| NOZZLE_WIPER_MOUNT.stl | 35.0KB |