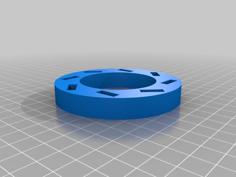
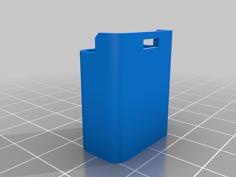
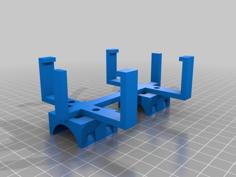
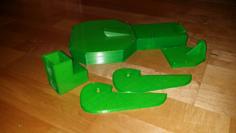
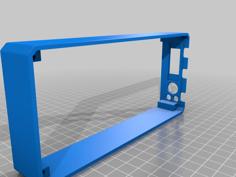
Dual USB-C 18650 Charger 3D Printer Model
The file 'Dual USB-C 18650 Charger 3D Printer Model' is (stl) file type, size is 146.4KB.
The file 'Dual USB-C 18650 Charger 3D Printer Model' is (stl) file type, size is 146.4KB.
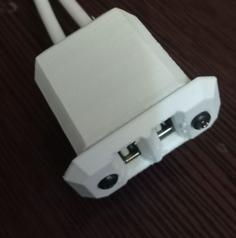
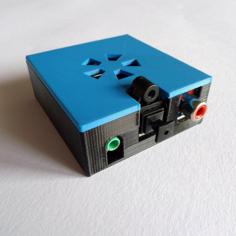
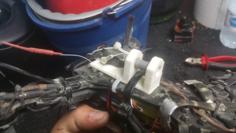
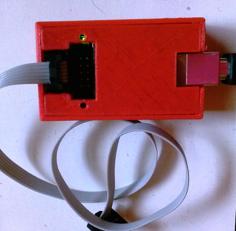
There's lots of good 18650 chargers on thingiverse, but I wanted something a bit more robust and USB-C.
You need:
You can purchase the TP4056 boards and battery terminals from AliExpress, eBay, Amazon, etc.
Plug either of the USB sockets into a USB-A -> USB-C supply and charge your batteries. Blue light means it's charging, red light means it has finished.
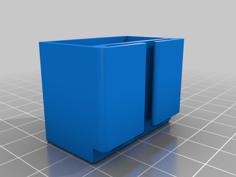
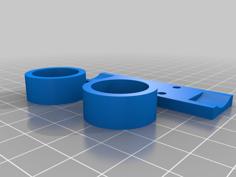
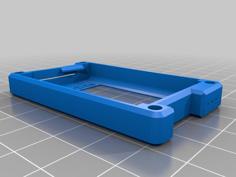
| Charger-Board-Cover-Alt.stl | 332.9KB | |
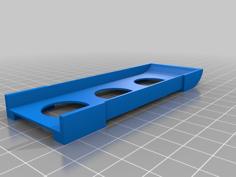
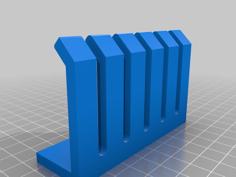
| Charger-Board-Cover.stl | 179.1KB | |
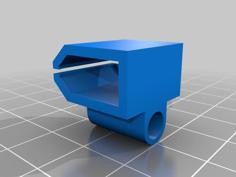
| Charger-Body.stl | 142.3KB |