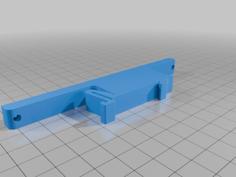
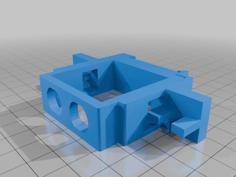
DIN Rail Clip Remix 3D Printer Model
The file 'DIN Rail Clip Remix 3D Printer Model' is (step,stl) file type, size is 80.5KB.
The file 'DIN Rail Clip Remix 3D Printer Model' is (step,stl) file type, size is 80.5KB.
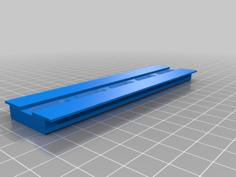
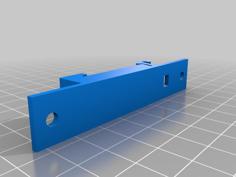
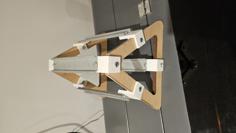
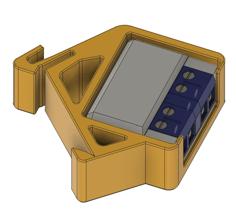
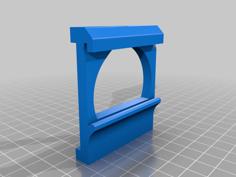
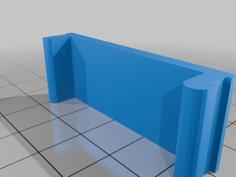
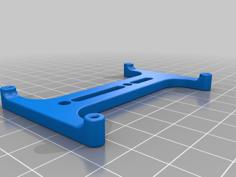
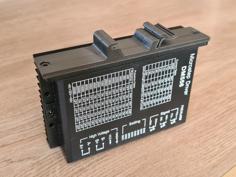
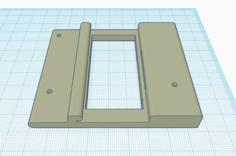
A simple bracket to hold an Anker Power Port 6 power supply to 35mm din rail.
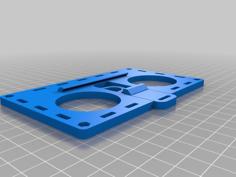
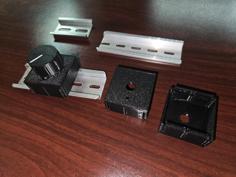
I really liked peaberry's original clip, which I believe was done using sketchup. I have recently begun to do my own design work using OnShape, and have been looking at small projects to gain some experience with it. I recently constructed a rolling workbench to hold my Elegoo Neptune 3 Pro, and had mounted a Raspberry Pi 4 on a piece of DIN rail, and thought that maybe making a bracket to hold the power supply (an Anker Power Port 6) would be a useful and fun project.
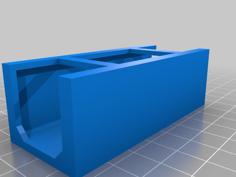
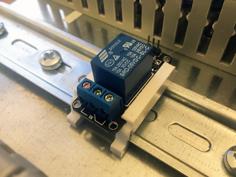
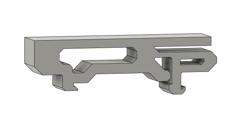
Peaberry's clip was great, I had printed a couple of them for other purposes. Originally I though I would just 3d print a clip that would screw onto those, but then I thought it might be fun to produce a remix of that with the clip integrated. I didn't want to laboriously the nice outline of the original though, so I embarked upon a rather absurd workflow which only makes sense to me.
I started with the STL. I have written rendering code for STLs as part of an experimental raytracer, so it was simple enough to output the vertices of all triangles from a face, and using the ezdxf python library, converted them into a DXF file that I could load into OnShape. I then "used" the exterior lines to create a fresh outline for the clip, which I could then extrude and accurately reproduce the existing model. It was then simplicity itself to create the additional extension to match the 27mm width needed.
I had two printed within the hour, and now I have a way to mount my USD power supply in a reasonably tidy manner, with the ability to move it around as needed.
| dinclip.step | 374.2KB | |
| dinclip.stl | 52.4KB |