A full size case (MAGNET version) that holds a generic digital caliper
This model is split to be printable and has tongue groves and snap together bits. A very sturdy box case to protect the caliper. Two model options:
Latched or Magnets
- The assembled project is 246 x 96 x 34 mm
- Printable on bed size as small as 200x200
- Extra space to hold a 127mm long generic flush cutter
Materials:
OR
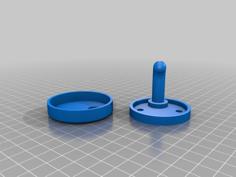
- MAGNET version BOM: 4x 8x2.50mm Magnets
- Couple inches of scrap filament (for hinge rod)
Print Instructions:
LATCHED Version files
- Latch A - Use Brim
- Latch B - Use Brim
- Bottom Insert 1 - No Supports
- Bottom Insert 2 - No Supports
- Bottom Insert 3 - No Supports
- Bottom Insert 4 - No Supports
- Top Insert - No Supports
- Top Plate A - No Supports
- Top Plate B - No Supports
- Bottom Plate A - Supports only on clasp (see photo)
- Bottom Plate B - Supports only on clasp (see photo)
MAGNET Version files
- Bottom Insert 1 - No Supports
- Bottom Insert 2 - No Supports
- Bottom Insert 3 - No Supports
- Bottom Insert 4 - No Supports
- Top Insert - No Supports
- Top M Plate A - No Supports
- Top M Plate B - No Supports
- Bottom M Plate A - No Supports
- Bottom M Plate B - No Supports
Print Assembly:
Before assembly check parts:
- a length of filament should freely move through the hinges parts with through holes. The hinge parts without a through hole should be a friction fit with the filament.
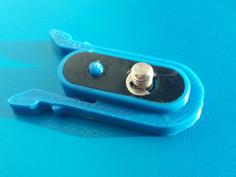
- LATCHED version: M3x30 screw should easily slide through the Latch A/B files.
- MAGNET version: 8x2.50 magnets should snap into slots. Make sure polarity is aligned to attract together!
Assembly time:
- Attach ‘Latch A’ to ‘Top Plate A’ and ‘Latch B’ to ‘Top Plate B’ with M3x30 countersunk screws (Do not over tighten). OR if making MAGNET version, press four 8x2.50 magnets into ‘Top M plate A/B’ and ‘Bottom Insert 3’ and ‘Bottom Insert 4’ slots making sure they are oriented to attract each other
- On a flat surface, slide fit together:
- ‘Top Plate A’ to ‘Top Plate B’
- ‘Bottom Plate A’ to 'Bottom Plate B'
- ‘Bottom Insert 1’ to ‘Bottom Insert 2’ (a bit of play is normal)
- ‘Bottom Insert 3’ to ‘Bottom Insert 4’ (a bit of play is normal)
- Press fit Inserts onto Plates. This will make parts rigid, if not glue can be used
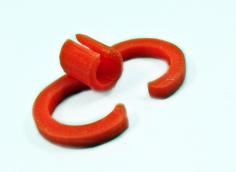
- Last step is to make the hinge! Close the box together and use some scrap filament (will be the hinge rod) and push through the hinge until friction fitted and cut off excess.