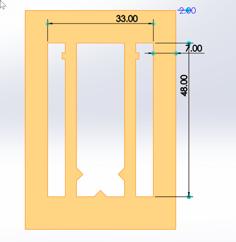
MAKE SURE TO SCALE TO 2540% IN CURA BEFORE PRINTING
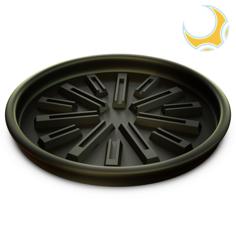
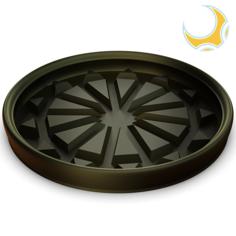
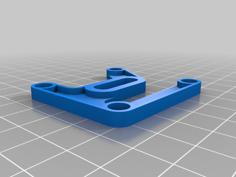
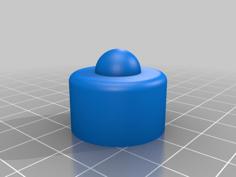
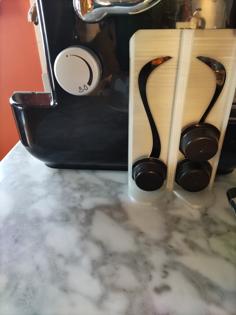
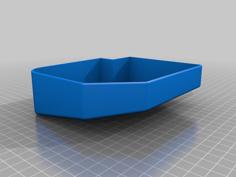
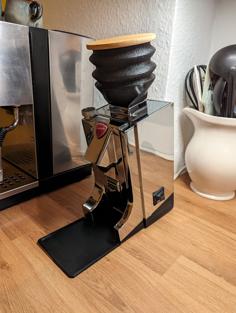
Some alternative "clump crushers" I've been trying in the DF64/Turin/Solo in place of the dual silicone flaps. I'm currently running a single piece (the 30 degree triangular normal) and have been having relatively good success with it. I do RDT each time (squirt with a little spray bottle) and that makes the static fairly manageable. Very very fluffy grinds, especially when paired with some SSP high uniformity burrs!
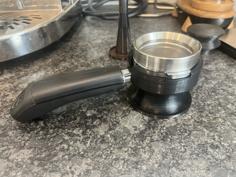
I actually found the best results by running two in parallel (the left two in the second picture, with the window pane more proximal to the chute). But I had some difficulty seating the faceplate with two on, so I'm at the one (as above) for now.
I don't run any spacers. A single piece is fairly close to the thickness of two silicone flaps. I have not had any contact issues with the sweeper arms, but use and test at your own discretion. You can rotate the bottom burr by hand to manually verify that there is no contact between the chute screws and the sweeper arms. Again, I have not had any issues with this.
I'd recommend grinding on the coarser end (like ~35, just not at like 4) for the first time grinding after putting one in. I've had it jam once/twice by hitting a clean chute with an ultra fine grind setting. And you can't really poke the clog out with a stick with a printed part versus the silicone flaps. Excited to see if anyone has any revisions for improvements!
Accessing the flaps is a bit of a pain. When I do it, I
(unplug)
Remove the upper burr screw and upper burr carrier
Turn upside down, remove the two screws for the base and lift the base (lots of wires in this area)
Look inside the base and using pliers, unscrew the flat nut that is holding the power button in place
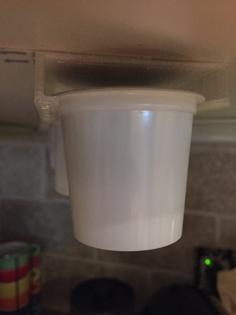
Remove screw and grinds cup holder on the front
Remove two screws for the front faceplate
Front plate can now be pulled off, though the power switch may give you a bit of trouble. Just wiggle it out, keeping mind to not damage the threads.
Now can finally remove the two screws holding the plastic chute in place to expose the flappers. They can then be pried off.
^^Here's a great video from Caffe Martella Singapore showing the process: https://www.youtube.com/watch?v=WdKTbM7BmGc
| center_grid_design.stl | 25.5KB | |
| grid_design_point_0315.stl | 25.1KB | |
| grid_design_point_05_thick.stl | 26.4KB | |
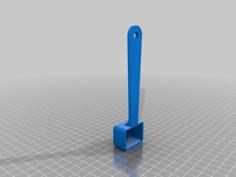
| ONE_I_USE_-_triangle_design_30_degrees_normal.stl | 15.2KB | |
| triangle_30_degrees_narrow.stl | 16.4KB | |
| triangle_design_30degrees.stl | 16.8KB | |
| triangle_design_point_0315.stl | 22.4KB | |
| triangle_design_point_05.stl | 21.6KB |