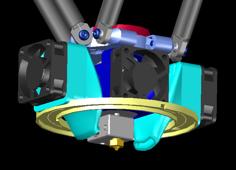
DD-SM Mount
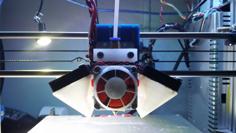
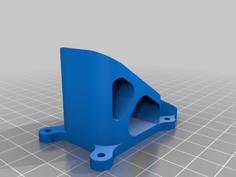
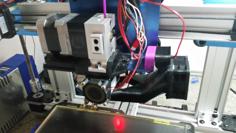
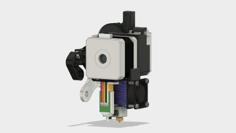
I created this mount to have the motor and extruder as close as possible to the X gantry bracket to not have the weight of the motor hanging a long way away from the metal bracket. This mount is very rigid, there is no droop or wobble induced by having the bulk weight far away from the gantry, it's also as compact as I could get it with the goals I had in mind. The hotend is placed exactly where the original hotend would be, so you're not loosing any print area in the X and Y.
The hotend is mounted lower than usual, you're loosing a tiny bit of Z axis. Caution! As this mount is designed to be used with a BLTouch - I made no effort to make sure the Z endstop switch would trigger before the hotend crashes into the build platform.
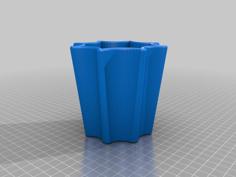
The part cooling ducts are designed (theoretically) so that the air path coming out is aimed right bellow the nozzle. The center of the air path is around 2mm bellow the tip of the nozzle. As there is no way to adjust the air duct height - make sure to assemble your hotend as per E3D instructions and have the nozzle not tightened against the heater block but with a slight gap, as the duct was designed with that in mind.
You need to use a slim extruder motor, preferably a pancake style one. The length of the motor cannot exceed 28mm or it will interfere with homing the X axis.
Please note: I'm not an engineer, nor an airflow duct-ologist. I made this mount for myself to suit my particular setup. I'm happy with the overall design and don't mind its limitations. I provide no support nor any plans to include other ABL solutions or hotends. After I'm happy with a final-ish version I'll upload STEP files so you can remix it to suit your needs. I plan to improve the mount from your feedback as well as from my own observations when using it.
Toolless accessory mount
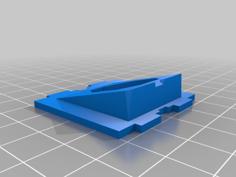
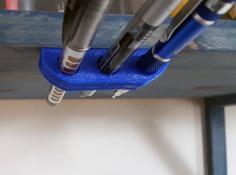
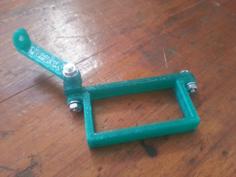
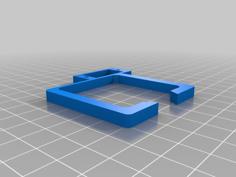
This mount allows you to attach custom addons to your 3D printer with toolless operation for adding additional functionality to your machine, be it vinyl cutting, pen plotting and more.
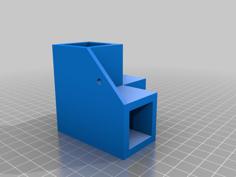
The air duct acts as an impromptu dovetail that allows you to slide the accessory mount in without any tools. The fit is fairly snug so be careful when adding and removing accessories.
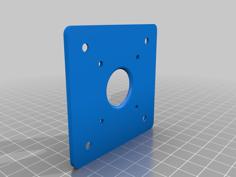
There is a .step file included so you can modify the mount to fit your needs, for example create mounting points and mount an ADXL345 accelerometer to calibrate your X axis input shapping (the ADXL345 board comes in various different sizes so that's why I haven't included a printable ready-to-go file).
The default bracket requires you to use regular M3 heat-set threaded inserts, but you can modify the .step file if you want another option i.e. pressed nuts, threads in plastic etc.
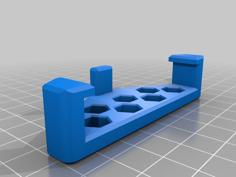
For the included pen mount - use some CA glue to glue in the hex nut, however if you're using PET-G it's highly recommended to use the heatset threaded insert version as the glue bond will be very weak.
Update #1 2021-07-17
Changes:
- Face plate - modified slightly to include gap for the accessory mount
- Duct - shallow slot for future additions to the accessory mount. Decreased the tolerance for the part cooling fan slightly - it's a more snug fit and might take a bit of wiggling to get the fan on.
Additions:
- Toolless accessory mount
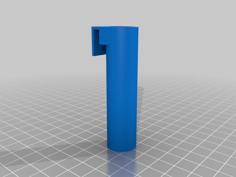
- Pen holder
- Vinyl cutter holder
Instructions
Required hardware:
- M3 hex nut - x2
- M3 x 6 counter sunk - x2
- M3 x 8 counter sunk - x1 (can be replaced with M3 x 10, bracket assembly left most screw)
- M3 x 10 counter sunk - x2
- M3 x 16 - x3 (x4 if you want to mount the fan with 4 screws)
- M3 x 20 - x2
- M3 x 35 - x3 (supplied with the BMG extruder)
BLTouch offsets:
Print the files in the orientation as provided. Use supports if needed, do not use supports inside the cooling duct as you won't be able to get them out after printing.
When mounting you'll notice it's difficult to screw in the last hotend cooling fan screw. It is not needed but can be used to mount some custom parts like a cable tie anchor, LED, etc.


