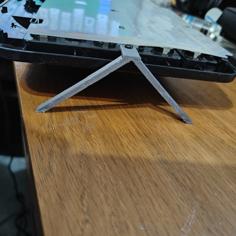
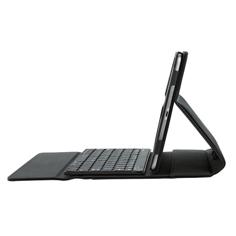
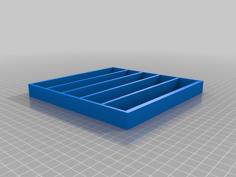
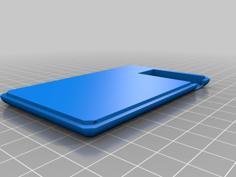
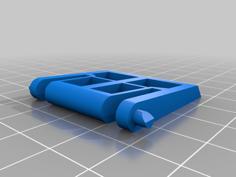
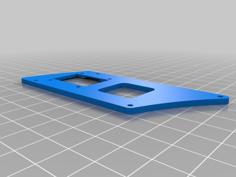
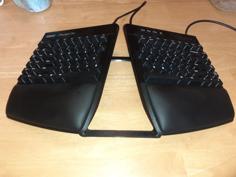
This project contains all the parts that are need to build your own custom keyboard.
Here is a link to my step by step tutorial about how to create the electronics:
https://www.youtube.com/playlist?list=PLXvLToQzgzdftro2qK5In8p6ExsDFdpzw
This is a link to the complete project directory on github:
https://github.com/FEDEVEL/custom-keyboard
When printing:
- there are two versions of the box. The version mark as a "Simple Box" is generated from EasyEDA software. No need to print this version. I only included it as a reference for everyone who is following my youtube tutorial.
- BOX TOP: use brim so the edges don't bend. Print with the flat on the bottom, enable support (needed in the screw pillars area)
- BOX BOTTOM: use brim so the edges don't bend. Print with the flat on the bottom, enable support (needed in the screw pillars area)
- PLATE: place plate_for_home_printing on the flat side, otherwise nothing special needed
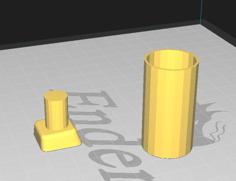
- KNOBS: place on the flat side to have high precision on the part where encoder is plugged in
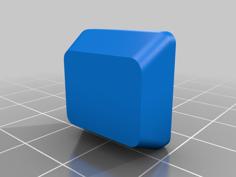
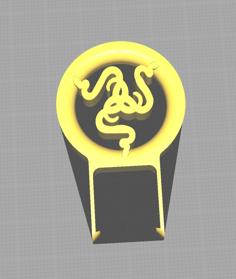
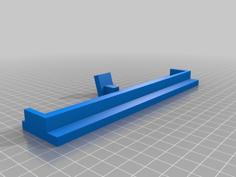
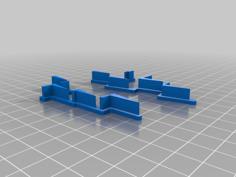
- Frame, Rings, Knob Tops: nothing special, just be sure you place them on the correct side for easy printing. No need for support, nor brim.
Other notes:
- Keyboard plate can be 3D printed or CNC it from a metal. For CNC use plate_for_cnc.step
- you can 3D print the frame, knobs rings and tops in different color
- use plate_for_industrial_printing_2mm if minimum required 3D printing thickness is 2mm
- for color 3D printing use case-top/bottom.obj + .mtl + bbtex.png (placed in the images directory)
After 3D printing:
- place a piece of transparent filament into the 3 holes for LED. It will be used as a light guide to bring light from the LED to the top of the box. I made the holes a little bit smaller, so if they are too small to fit the transparent filament, use a small drill bit to make them the right size.
- Use Gorilla glue (or any other super glue) to fix position of frame, rings and knob tops.
- stick rubber feets at the bottom of the keyboard

