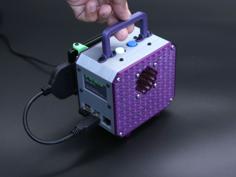
Cube-based network cabinet / racking system with many features:


This network rack is carefully designed to be precisely 6Ux6Ux6U in all dimensions; each side of the Cube can fit 5U of standard 10-inch wide equipment and is printable without supports.
One design consideration was to make the not-printed parts minimal - to that end, all you need to construct a Cube is Cage Nuts! and since you are building a network rack, you'll be using those anyway!
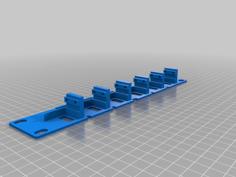
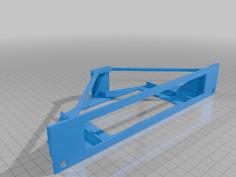
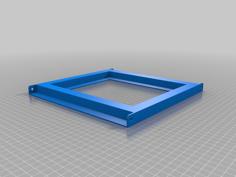
Just print the frame piece 4 times, and bolt them together in the corners to make a cube:

Once you have 4 of the frame pieces printed, fit them together with M6 bolts using a backwards Cage Nut, flat side down, or remove the nut from the metal clip one bolt in each corner (total 8 nuts and bolts per cube).
Here are some pictures of the corners, demonstrating the reversed cage nuts, and removed clip nuts, only one bolt is required per corner, however more are used if you mount the optional side panels (Please ignore the lighter orange frame piece- it is an older version):

Corner space can get a bit tight if you use them for side panels and to join cubes together:

The regular rack squares can be used to join cubes together as an alternative to the mess above:

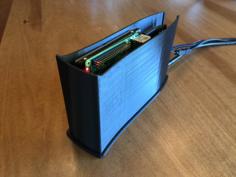
Once all eight corners are bolted you have constructed the basic Cube:

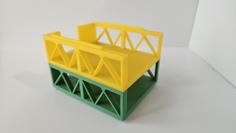
Each edge of the Cube is half a Unit, so when stacked on top of each other, the unusable space between cubes is exactly 1U:

You can combine them into a larger frame like the image above (again bolt them together with cage nuts!).
The “wasted” 1U between the joined cubes can be opened up by using the “Open Frame” variant - though this is more advanced, I recommend printing a standard Cube or two before trying this. You would need one Open Frame piece per cube mounted in this way.
Side panels are optional and can either be bolted on using cage nuts (again!) or magnetically attached for easy access.
The optional magnets should be glued into each corner- be careful about orientation they are extremely difficult to remove once glued in, here on each corner of a side panel:

and here on the frame (made a mess of this one):

The side panels can also be bolted to the corners; space can be a bit tight doing this, but I got lucky - all the cage nuts and bolts I bought fit but only just M6 Bolts with 11m of thread.
Bolting the side panels to the frame significantly strengthens the frame!
You will be unable to mount all panels unless you leave at least one side magnetically attached for access.
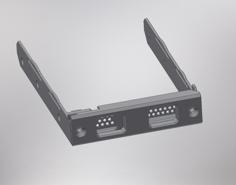
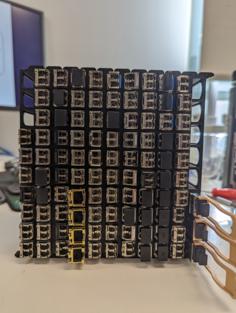
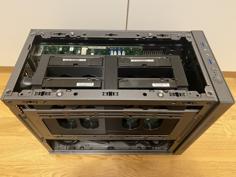
As a 3D-printed part, it is a little wobbly; if you need more strength in the frame, adding side panels significantly tightens it up. You can see in my photo I have 15 3.5" HDD cages, which are quite heavy, and they work fine!
I have printed everything in ABS, and it's pretty strong; you can try PLA if you like, but I have not tested it.
Take care when inserting the cage nuts into the frame; push them in from the side, putting force onto the strongest edge of the frame for best results. Do not over-tighten the bolts into the cage nuts.
Be realistic about what you mount into the frame though - some servers can get pretty heavy!
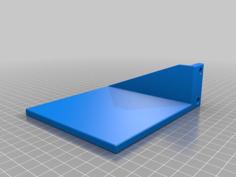
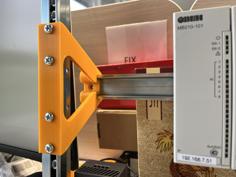
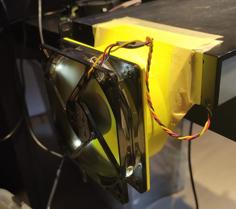
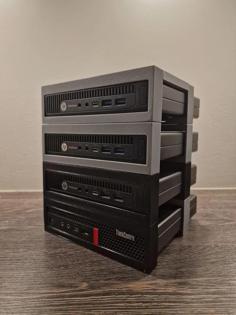
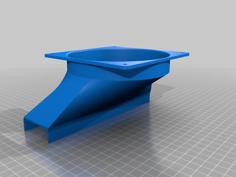
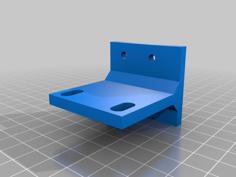
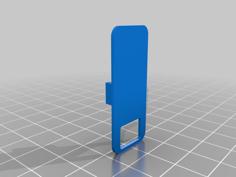
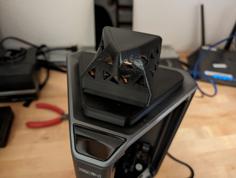
The Wall Mount system can be used to hang a single cube onto the Wall. I wanted a method of hanging the cube to the wall so that it could easily be taken down to work on.

I have two versions Small, and Large - I have only tested the large version and made the Small version when I worked out how much filament it uses!
However, it is plenty strong, and I recommend the large version. This is a special side panel with the rack mount points exposed.
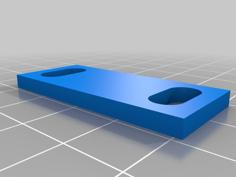
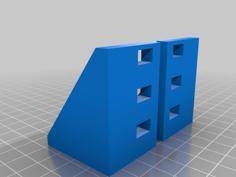
The two “Feet” at the bottom that sit against the wall are required.
I'm pretty sure that It could be used to support more than one cube, but I've not tested.
IMPORTANT:
The corner holes have been designed to be printed without supports but must be printed at 0.2mm layer height in order to print correctly!
I have only tested printing in ABS, I am not sure how well PLA or PETG will work - but feel free to try.
I printed my feet in TPU, but can be printed in any material.
Supports are not needed in any of these prints, but there is a significant amount of bridging - the squares are about 9mm and most printers should be able to bridge this easily.
I am excited to see if anyone will design any new panels or accessories; at one point, I wanted to make handles that would mount to the top, but I never got around to it!
| Foot_1.stl | 141.6KB | |
| Frame_-_Cube_Rack_x4.stl | 233.1KB | |
| Frame_with_Open_Edge_EXPERIMENTAL_-_READ_INSTRUCTIONS.stl | 187.0KB | |
| Side_Panel-_Decorative.stl | 160.8KB | |
| Side_Panel_-_Blank.stl | 53.0KB | |
| Side_Panel_-_Grill.stl | 187.8KB | |
| Side_Panel_-_Grill_-_1U_Space.stl | 151.1KB | |
| Side_Panel_-_Grill__-_Open_Mount_Points.stl | 188.9KB | |
| Wall_Mount_-_Large_Version_Recommended.stl | 61.0KB | |
| Wall_Mount_-_Rack_Side_-_Large_Version.stl | 92.2KB | |
| Wall_Mount_-_Rack_Side_-_Small_Version.stl | 43.2KB | |
| Wall_Mount_-_Small_Version.stl | 23.9KB | |
| Wall_Mount_Foot_REQUIRED.stl | 43.1KB |