CTC Printer – Silent 80mm Fan Mainboard Makerboard Adapter 3D Printer Model
The file 'CTC Printer – Silent 80mm Fan Mainboard Makerboard Adapter 3D Printer Model' is (stl) file type, size is 5.6KB.
The file 'CTC Printer – Silent 80mm Fan Mainboard Makerboard Adapter 3D Printer Model' is (stl) file type, size is 5.6KB.
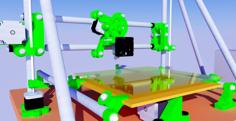
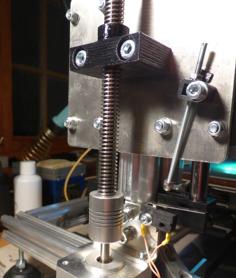
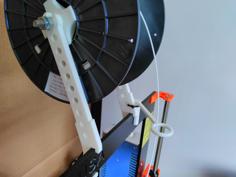
After I installed really good shock absorbing feet (Spring based, http://www.thingiverse.com/thing:1392657), I found the only loud thing left was the fan blowing onto the mainboard under the printer. It was a small 40mm? fan and it was mounted in such a way that it rattles very heavily on the wood frame. It's far louder than it needs to be and was actually louder than the printer itself. Ideally the fan being installed needs some clearance at the bottom, so it's best to install this after installing anti-vibration legs to physically raise the machine a bit.
I don't know if this is the case on the MakerBots and MakerBot clones, but it should also fit.
It's the stepper drivers that needs the cooling, and the original set up focused the air mainly on one driver (As it was mounted from the side). I figured if I use a silent 80mm fan and use it above, not only will it completely eliminate the noise, but also cool the drivers better and equally. The CTC is 24 volts which you need to keep in mind. I only had 12v fans available. I had to wire up a small AC-DC transformer to the mains, before the power supply to supply the fan its own 12v line. Alternatively you can purchase a 24v 80mm fan and wire it into the pre existing power lines for the original fan.
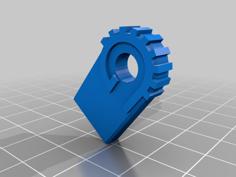
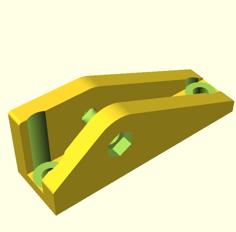
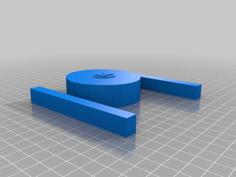
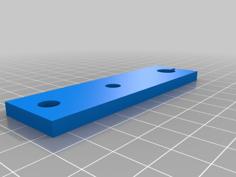
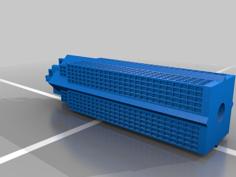
It's a very simple print, and you will need to drill 2 holes into the frame. I also print with rafts but only to make it easier to remove from the bed, it is not necessary.
Print this out, then turn off the printer
Remove the old fan.
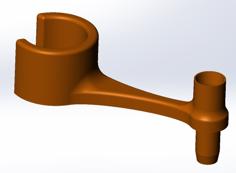
Start off with finding a good spot to mount it, mark out on the frame through the screw holes on the print (Make sure you use the correct screw holes and not the ones for the fan).
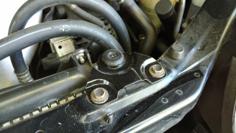
Drill the holes, being careful not to drill into the heated bed on the other side.
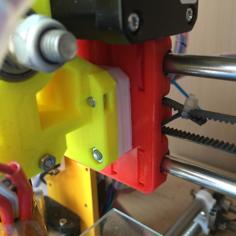
Before mounting it onto the frame, mount the fan onto the print and connect it to power. Again, if its a 24v fan you can wire it into the pre-existing cables. If not, you will need to attach a separate power supply. You could potentially connect it in series with something else that is 12v to still use the 24v line, e.g. another fan, light. Bare in mind you will not be able to turn it on and off separately though.
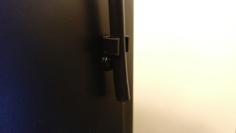
Once the fan is attached, attach the whole print using the drilled holes and some nuts and bolts. The size isn't specific, but if the holes are too small/wide, just adjust in Tinkercad.
And enjoy the suddenly, much quieter printer :)
| makerboard_80mm_fan.stl | 29.1KB |