When you have a dog that loves playing ball, a thrower helps save your shoulder and keeps you from handling drooly gross tennis balls.
But carrying a 2 foot long thrower can be awkward. So I designed a collapsing thrower, so that it's easier to get to and from the park.
It works quite well, my dog loves it.
It has a small hook to allow you to use a rubber band to keep it closed.
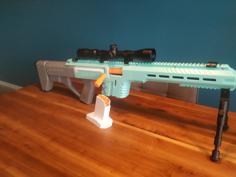
Tennis balls work best, but it's compatible with any tennis ball sized balls (ChuckIt, Nerf, etc). I recommend lighter balls, as the heavier ones (for example the full rubber ChuckIt balls in the pictures) put more stress on it.
When extended it's about 2 feet long. When collapsed it's about 9 inches long.
Parts Needed:
It's designed to use an M3 bolt and an M3 heat press insert. Alternatively you can use an M3 bolt and nut or it's 1/8" imperial equivalent.
It can also be glued instead of using bolts, but that makes it so parts are not replaceable when they break.
Printing Instructions:
I've printed in both PLA and PETG, with similar results. I recommend making the seams random, that'll make the tubes fit and slide more easily with less post-processing.
The grip and end cap can easily printed together, as the same settings are recommended. Same with the tubes and tip
Starting at the bottom:
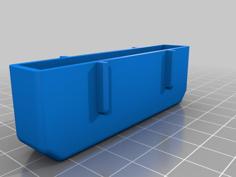
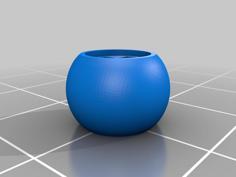
End cap - There are 2 files, one with a belt clip and one without. The one without the clip is the one I prefer, the clip can snap pretty easily, despite a pretty beefy design. No supports should be needed. Print with the bottom on the bottom.
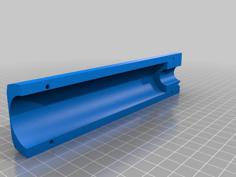
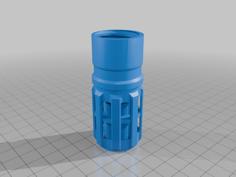
Grip - No supports are required. Print with the threaded end (bottom) on the bottom.
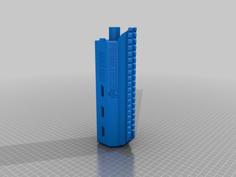
Tubes - No supports. The tubes are numbered from the widest to the narrowest, 1 being the widest. Tube number 1 is thicker than the other tubes, as during testing it broke. The file is for 4 sections, but they can be separated and printed individually if you have a break. Print with the numbered end at the bottom. I recommend an outside brim for all of these.
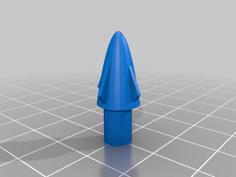
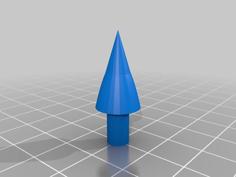
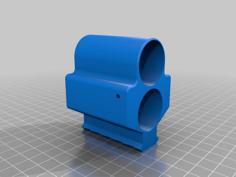
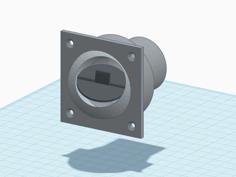
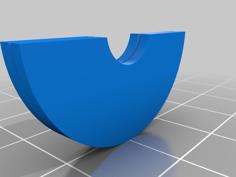
Tip - More solid than the tubes, and has a hole through it for the bolt/heat press insert. Print wide end at the bottom, outside brim recommended.
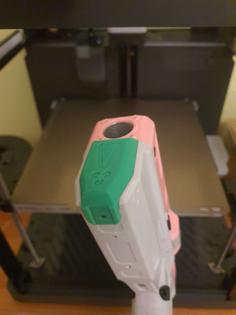
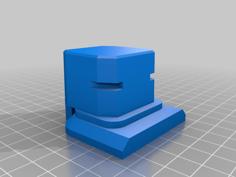
Head - The most complex bit. Requires supports. I haven't found a good orientation for the best printing results, if you find one, please post a picture. I have it sized a tiny bit on the small side, you may need to scale it up 1-3% depending on your printer and filament. If you need to scale it smaller you might need to hog out the attachment between it and the tip. It's designed with only half a mm clearance.
Assembly Instructions:
After getting rid of any supports or sharp edges:
Put the tubes into the grip
Install the heat press insert (if used) into one side of the hole in the top of the tip. Wait for it to cool.
Put the tip into the the remaining space in the middle of the tubes
Screw on the end cap
Slide the head onto the tip and line up the holes. Insert the bolt through the holes and screw in (or attach nut).
Throw the ball.
| Endcap.stl | 316.1KB | |
| EndcapClip.stl | 539.4KB | |
| Grip.stl | 1004.4KB | |
| Head.stl | 764.4KB | |
| Tip.stl | 158.2KB | |
| Tubes.stl | 227.0KB |