Christmas_Ornament_Personalized 3D Printer Model
The file 'Christmas_Ornament_Personalized 3D Printer Model' is (stl,docx) file type, size is 174.1KB.
The file 'Christmas_Ornament_Personalized 3D Printer Model' is (stl,docx) file type, size is 174.1KB.
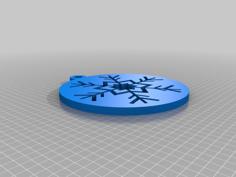
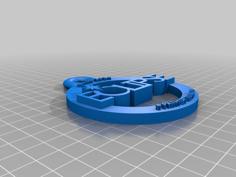
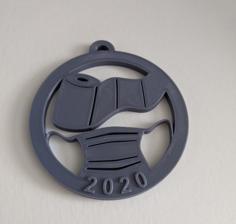
This Christmas personalized ornament was created in TinkerCAD. The intent is to be able to easily modify the 3D print template with the recipient's name and drop in various snowflakes/stars/decor around the name to liven things up.
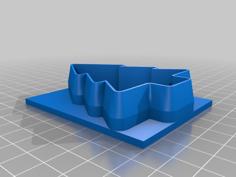
I included two .STL file templates. One with a polygonal ring, one with a circle ring. The polygonal ring is 100mm, and the circle ring is 80mm. Resize as you wish.
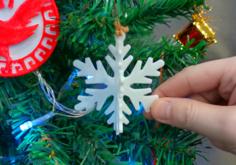
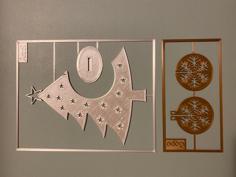
I also included seven snowflake .STL files as examples of what objects can be used to decorate. Simply import the separate snowflake .STL files that you want, place/resize them where needed in the decoration.
To change the name/text in the ornament, I use Microsoft Word. I included a Word file with instructions and a text example.
Open included NameText.docx MSWord file:
To finish the ornament, adjust the name text to fit as desired, adjust and/or change snowflakes (or other desired background decoration). In my example, I made a point to overlap a few of the snowflakes with the name text to give it strength.
Please note that the chosen font may leave one or two letters unattached from the main text, and may have to be further supported by snowflake objects. Also, in this specific case I had to manually add the space in the top of the letter "e". That can easily be done in the 3D software with a cylinder "hole" formed to the shape you want to cut out. Simply "group" the newly placed "hole" object, and it will create the desired space.
Once your are done modifying the ornament, "group" all the objects together.
One last thing, please be aware that some of the snowflakes may lose detail if you downsize the .STL files. I recommend resizing the ring and name text, then adjust the snowflakes accordingly as a last step.
Notes:
Any number of background objects can be used to replace the include snowflakes, such as stars or pine trees/branches. Simply do a web search for "star SVG" and there are many sites that offer free SVG objects that can be imported into TinkerCAD.
Thanks for looking. Take care.
| Christmas_Decoration_Template_Circle2.stl | 36.9KB | |
| Christmas_Decoration_Template_Polygonal2.stl | 114.5KB | |
| NameText.docx | 14.5KB | |
| SnowFlake1.stl | 29.0KB | |
| Snowflake2.stl | 29.2KB | |
| Snowflake3.stl | 74.1KB | |
| Snowflake4.stl | 38.8KB | |
| Snowflake5.stl | 68.8KB | |
| Snowflake6.stl | 32.3KB | |
| Snowflake7.stl | 46.2KB | |
| Updated_Christmas_Ornament_Thicker_Ring.stl | 135.0KB |