Cheap Bench Power Supply 3D Printer Model
The file 'Cheap Bench Power Supply 3D Printer Model' is (stl,fcstd) file type, size is 8.5MB.
The file 'Cheap Bench Power Supply 3D Printer Model' is (stl,fcstd) file type, size is 8.5MB.
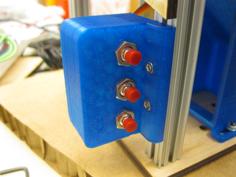
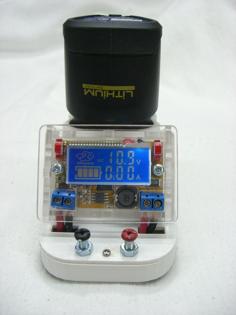
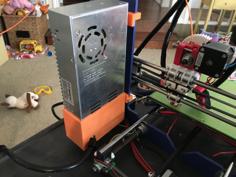
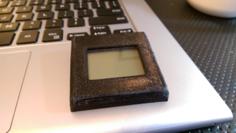
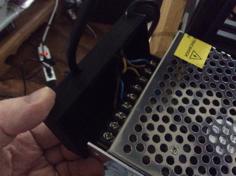
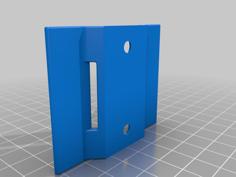
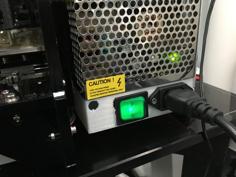
A friend of mine is just getting into arduino stuff and wanted to have a cheap variable power supply for his projects. This "box" is the result -- I put box in quotes because the height of the components on the board he purchased are higher than the height of the LCD displays, making it problematic to enclose. This box can be attached to a bench, under a shelf, or to a wall and in any type of installation, can be tilted for good viewing. It can also be not-attached, and instead use the bracket as a tilt stand. Anyway, it works quite well.
Action video: https://vid.me/YNHd
Wiring is straight forward, connect positive from the power supply to the switch, and then the other pole of the switch to the positive input terminal. Attach negative from the power supply to the negative input terminal. Then attach the pos/neg terminals to some sort of jack -- I used RCA jacks because I have tons of old RCA cables I'm not using anymore.
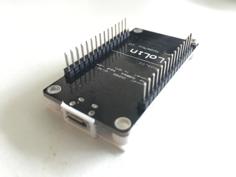
These are the parts used in this project with this caveat -- everything seems to work but I spent a grand total of 15 minutes fooling around with it when it was done, and because it isn't in my shop, I'll probably never use it again. So, this is a list of parts used to make it, not a recommendation of those parts, if that makes any sense.
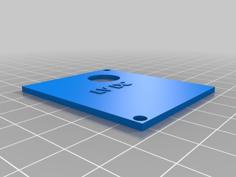
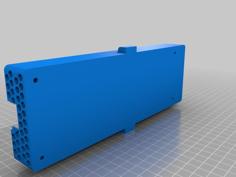
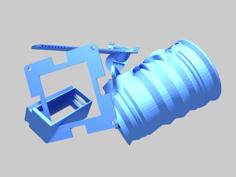
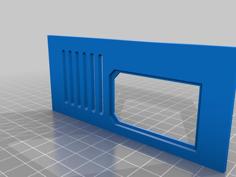
| cheapBenchPowerSupply-Bottom.stl | 34.7KB | |
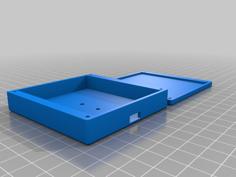
| cheapBenchPowerSupply-Box.stl | 738.9KB | |
| cheapBenchPowerSupply-Bracket.stl | 150.1KB | |
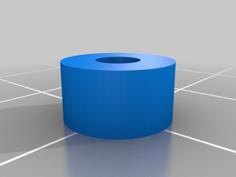
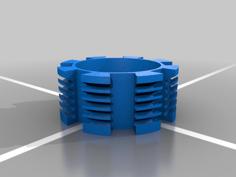
| cheapBenchPowerSupply-Knob.stl | 809.0KB | |
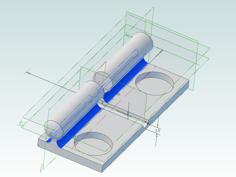
| powerSupply_v2.fcstd | 7.9MB |