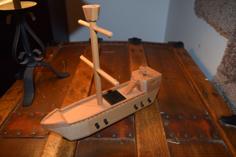
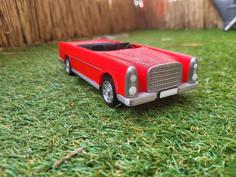
Someone in the local live steam club just bought himself 5" gauge model of a cane loco and a couple of wagons. Anyone who has waited for a crossing to clear in Queensland would know that these 2-foot gauge trains have hundreds of wagons. So to help him on his way I threw together some parts to make another wagon. Other than the driver's car, none of these models will survive being sat on.
Here is some background information on these railways: https://www.lrrsa.org.au/LRR_SGRz.htm (photo credit to them) and https://asmc.com.au/wp-content/uploads/2013/08/Cane-railway-fact-sheet.pdf .
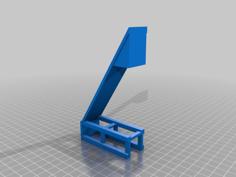
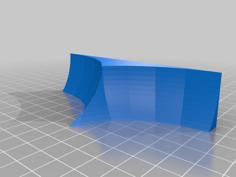
The axle will be stronger if printed lying down.
To finish a model you will need a solid piece of plywood, some wire or plastic mesh (such as sold to keep leaves out of roof gutters), and couplers (which could just be coat-hanger wire). It is important to add the mesh bin, alternatively to screw down a suitable toy figure. That way people will be less likely to sit on the wagon. (For those unfamiliar with the live steam hobby, people expect to be able to sit on any 5"-gauge vehicle with a flat surface and then be towed around the track by a miniature locomotive.)
In our model the floor is 320 x 255 mm to match the existing stock which is undersized compared to a correct scale model of a cane train. You could research your favorite cane railway and adjust the floor size to suit.
You should check that the bore of the wheels is not less than 8 mm - use a drill bit if necessary. Please be very careful when fitting wheels to the axle. They should be a tight fit but not so tight that the plastic tears or the axle bends. Avoid using a screwing motion, doing so could tear the surface. Push straight. If it won't go then clean up the surface of the axle with a file, but not too much. Alternatively you could try assembling a wheel set in your slicer before printing.
If you want to make it rideable then you could replace the axles with steel, make the plastic parts solid and possibly replace the printed bearings with skate-board bearings (they are the same size).
The specification for the wheel shape is here: https://www.aals.asn.au/wp-content/uploads/2019/12/5-inch-gauge-track-wheel-standards.pdf
To watch these things in action you can visit our club track at Narara. Location and times are here: http://narara.cjb.net
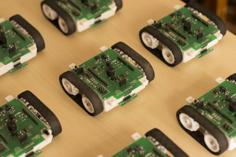
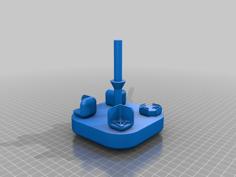
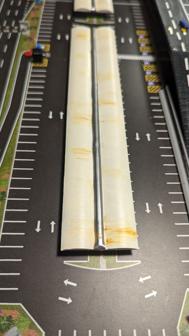
The unit shown here is just our proof-of-concept model with a scrap particle board floor and default 15% infill for the printed parts. It works! However it would be stronger if printed with more infill and fitted with a painted weather-proof plywood floor.
-------------- WARNING 4th January 2025- (mid-summer for us)
Someone added some cars with 3D printed components to a normal steam hauled train and ran until they broke. This model failed after a derailment that broke the a side frame and pulled the screws holding the other side out of the board. Also an axle broke at the journals. The printed wheels and printed bearings survived without apparent damage. Also, interestingly, the other fellow's cars also fell to pieces but his printed curved-spoke wheels also survived.
So consider using steel axles and perhaps wooden side frames with cosmetic printed details.
| axle_5_inch_journal_8_rev_2.stl | 156.3KB | |
| cane_bin_bearing_rev_1.stl | 78.2KB | |
| cane_bin_underframe_rev_1.stl | 139.9KB | |
| rail_wheel_5_inch_rev_2.stl | 623.0KB |