Bowden Dual/quad Extrusion Extruder (single-nozzle Single-drive) + Video 3D Printer Model
The file 'Bowden Dual/quad Extrusion Extruder (single-nozzle Single-drive) + Video 3D Printer Model' is (stl) file type, size is 5.5MB.
The file 'Bowden Dual/quad Extrusion Extruder (single-nozzle Single-drive) + Video 3D Printer Model' is (stl) file type, size is 5.5MB.
It's been a while since I have uploaded a thing. But this one is pretty cool! You might know me from my Proximity sensor mount if you have a Prusa i3. Which is quite popular, according to Thingiverse Analytics.
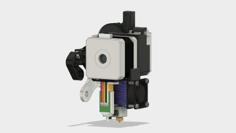
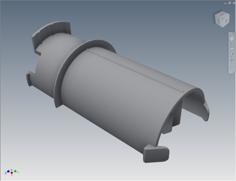
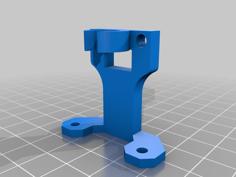
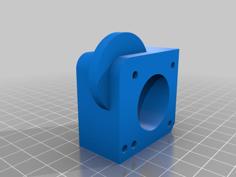
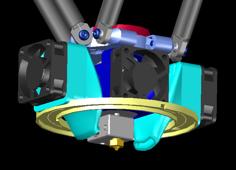
I came up at this idea, when I got interested in dual extrusion. At first I found the well known Extruder Merger. Later on I found a Direct drive dual extruder (single-nozzle and single-drive), which I like more. Because it is less bulky than using 2 stepper motors.
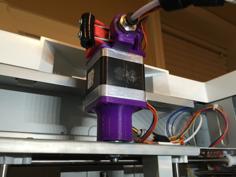
The single-nozzle single-drive dual extruder, is direct drive. Meaning the motor is attached on the axis. My 3D printer is upgraded to a bowden extrusion, so I could not use it.
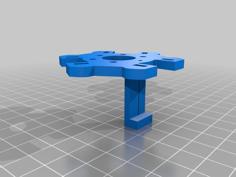
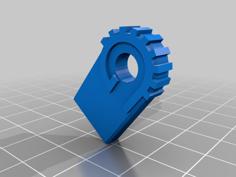
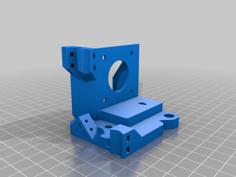
I convert the single-nozzle single-drive dual extruder to Bowden. Seems simple right? So this is what I came up with after hours of recreating in Autodesk Fusion 360.
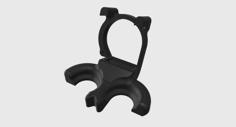
Now it's possible to combine this using a Extruder Y-merger:
If you want to switch between 4 filaments, you will only need 2 stepper motors. Instead of the regular 4, by using a 4-way Y-merger at the nozzle end. If someone gets this (quad) working, please share your Gcode for switching!
Like this one does: Original Prusa i3 MK2 Multi Material upgrade release - dual/quad extrusion
The STL files have been exported using the highest quality (lowest Surface Deviation) as possible, in order to achieve maximum Number of Triangles. In short, the prints should look smooth AF.

Video of it working and Source files: https://3dprintingwithzahier.blogspot.nl/2016/12/its-working-bowden-dualquad-extrusion.html
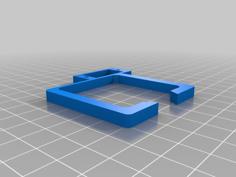
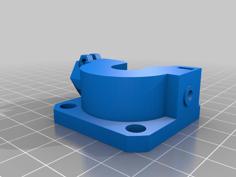
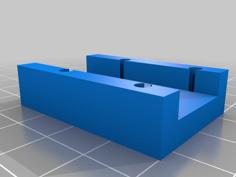
| body-hs225.stl | 5.6MB | |
| body-hs422-hs425bb_repaired.stl | 5.1MB | |
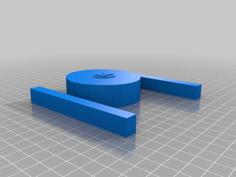
| idler_repaired.stl | 4.0MB | |
| washer_repaired.stl | 632.2KB |