Bolt Action Fidget Redesign / Remix Without Support 3D Printer Model
The file 'Bolt Action Fidget Redesign / Remix Without Support 3D Printer Model' is (stl) file type, size is 1.2MB.
The file 'Bolt Action Fidget Redesign / Remix Without Support 3D Printer Model' is (stl) file type, size is 1.2MB.
This is a Remix and a complete redesign of the body from scratch by myself.
Why:
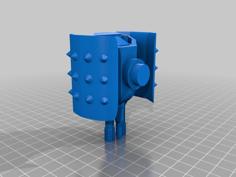
I noticed "bumps" and unclean Meshes on the Original Parts, the tunnel for the Bolt was much bigger then the Bolt itself. But the main reason was: it needed Supports and angles to print properly.
So I redesigned all parts new from scratch to be printed without the need of Supports. But for the mechanism I don't take credits, since its the same and not my idea.
Extras you need
- 7 6mm x 3mm circular neodymium magnets
- 5mm Hex key
- (Glue)
- (Sandpaper)
How to Print:
All settings referring to Cura
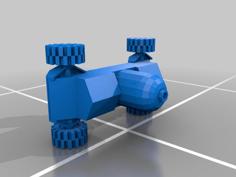
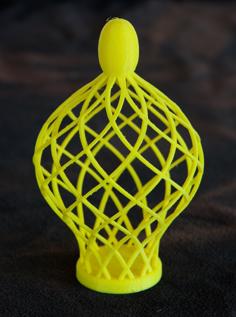
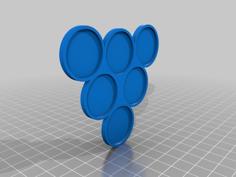
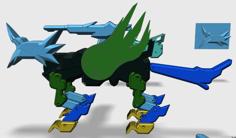
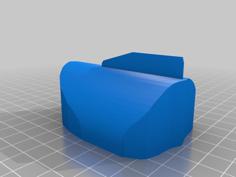
- Orient the bottom faces of the Parts exactly like in the picture (yellow Parts) in your slicer, the rotation is up to you preferences. NOTE: don't print all parts at the same time, for the best result one at a time.
- Resolution 0.2
- Use 100% infill for all the small Parts and ~20% for the Main- and Bolt Part.
- Enable Brim with "Brim Only on Outside ☑" and with a "Brim Line Count" of at least 8, but this is up to your experience with your printer.
- For cleaner looks on the small round Parts I recommend the settings "Z Seam Alignment = User Specified", "Z Seam Position = Back", "Seam Corner Preference = Smart Hiding", then rotate the Part to your liking.
- NO SUPPORT
After Printing:
- Remove the Brim.
- You may have to sand down the edges of the "Bottom-Holder" Part to fit it in, depending of the Corner Seams and tolerances your Printer produces.
Assembly:
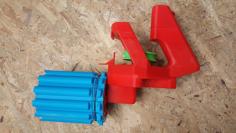
- Press in the magnets oriented like in the picture in the holes of the Parts, if its to loose use glue to secure it. (The orientation just means attraction and repulsion)
- At first put the Bolt in the chamber of the Main-Body thru the back.
- Then gently try to screw in the remaining Parts in the corresponding places, it may take a few "back and forward" actions to go in, since there might be seams in the threads.
(For the Front and Back Part use a 5mm Hex key.)- Press the "Bottom Holder" in the corresponding cutout. If its to tight = sanding, if its to lose = Glue. But it should be a snuck fit.
- DONE
Have fun with it :)
Remixed from:
https://www.thingiverse.com/thing:6249401
| Back-End-V2.stl | 558.9KB | |
| Bolt-V2.stl | 339.2KB | |
| Bottom-Holder.stl | 22.3KB | |
| Front-End-V2.stl | 245.9KB | |
| Handle.stl | 706.3KB | |
| Main-Body-V2.stl | 1.1MB |