Boeing Stearman 75 Toy Plane 3D Printer Model
The file 'Boeing Stearman 75 Toy Plane 3D Printer Model' is (3mf,stl) file type, size is 8.4MB.
The file 'Boeing Stearman 75 Toy Plane 3D Printer Model' is (3mf,stl) file type, size is 8.4MB.
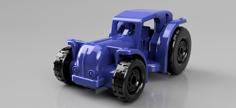
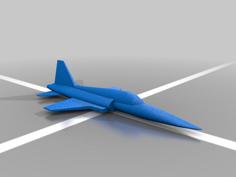
This is a toy plane that is based on the famous Boeing Stearman Model 75 biplane.
https://en.wikipedia.org/wiki/Boeing-Stearman_Model_75
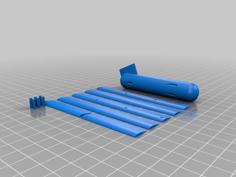
The toy plane has a wingspan of 240mm and a length of 196mm. It can be completely assembled without using glue. All necessary clips and bolts are printed. I even included a small screwdriver.
Use the following settings for the wings: 0,12 layer height, 4 walls, 4 bottoms, 8 tops, 16% gyroid infill
The rest can be printed with 0,2 layers, 4 walls, 4 bottoms, 5 tops, 6% gyroid infill.
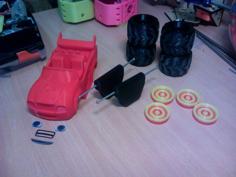
I recommend a brim only for the bolts. See my 3mf for more details and how I positioned the parts on the build plates. The 3mf file can be used with OrcaSlicer or Bambu Studio. I added a picture so you can see the orientation of the parts on the print bed.
Print the following parts with support:
Do not use support on the threads.
All parts will fit into a 200x200x200 build space.
Users with a smaller printer need to split the wings into two parts (can be done with the slicer) and glue them together after printing. Alternatively the model can be scaled down a little bit. I did not try this myself but I know there is a print that has been scaled down to 82%.
For assembly follow these steps:
| stearman_75_toy_plane.3mf | 3.4MB | |
| Toy_Plane_Cockpit.stl | 1.0MB | |
| Toy_Plane_Engine.stl | 2.2MB | |
| Toy_Plane_Front_Cover.stl | 146.7KB | |
| Toy_Plane_fuselage.stl | 2.7MB | |
| Toy_Plane_Long_Bolt_2x.stl | 642.5KB | |
| Toy_Plane_Lower_Wing.stl | 968.6KB | |
| Toy_Plane_Pin_3x.stl | 185.5KB | |
| Toy_Plane_Propeller.stl | 332.7KB | |
| Toy_Plane_Rear_Wing.stl | 671.7KB | |
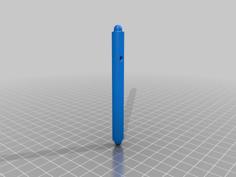
| Toy_Plane_Screwdriver.stl | 9.7KB | |
| Toy_Plane_Short_Bolt_3x.stl | 622.0KB | |
| Toy_Plane_Strut_2x.stl | 790.7KB | |
| Toy_Plane_Top_Wing.stl | 1.1MB | |
| Toy_Plane_Wheel_2x.stl | 275.9KB | |
| Toy_Plane_Wing_Support_2x.stl | 137.4KB |