Aurora Slot Cars Old Logo 3D Printer Model
The file 'Aurora Slot Cars Old Logo 3D Printer Model' is (stl) file type, size is 77.9KB.
The file 'Aurora Slot Cars Old Logo 3D Printer Model' is (stl) file type, size is 77.9KB.
Flush inlay 3 layer print done on ender3 V2.
Carefully align your parts in your slicer !
Disable skirts, brims, rafts, any pre printy stuff.
Position your parts as far forward or rearward on the build plate as practical to avoid your auto level sensor hitting parts during probing between the printing of different layers !
Make sure the parts are all mirror images of the finished product, we're printing upside down here.
The first 2 parts are only .4mm in height as is the the "cutout" in the final layer to fit the text and loop into, If resizing, do not alter thickness unless you really know what you're doing. (unlike me) : )
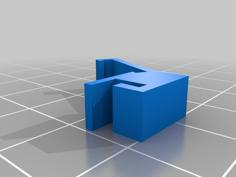
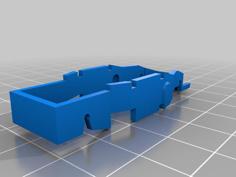
Print the text first, then the loop then the background.
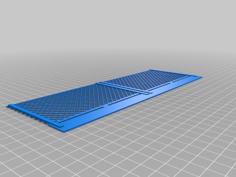
For the background, enable Z hop, .5mm seems to work well. This allows the nozzle to "jump" over the previously printed parts.
Printing at .2 layer height, print the text first, when finished reload next filament and print the loop, then the same for the background.
This was my first 3 colour flush inlay print and boy, did I mess it up a few times.
I hope this helps, many will know stuff this already but many won't !
If unsure of procedure go and check the video by CHEP on youtube, 2 color inlay with z hop.
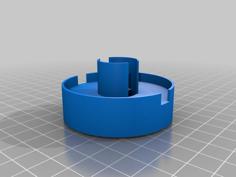
| aurorabackground.stl | 152.5KB | |
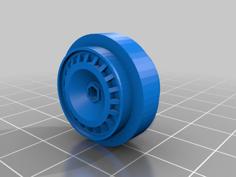
| auroraloop.stl | 32.9KB | |
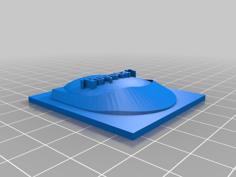
| auroratext.stl | 122.3KB |