Important:
IN ORDER TO PRINT THE THREADS, YOUR PRINTER MUST BE CALIBRATED REALLY GOOD !!! Accept the challenge! ;) it is worth the effort, after that, your printer works dimensionally accurate.
Just in case, one might think, that does not work.... ;) Taken from my ruler stop.
https://www.youtube.com/watch?v=DNR58DfmLSM
My calibration sequence (sequence is impotant) is:
-Take care, that your printer stands on level subsurface
-Take care, that the ground/subsurface does not shake, while printing
-Take care, that the printer is built and alligned exactly
-PID tuning http://marlinfw.org/docs/gcode/M303.html
-optimally levelled bed, at least, first layer without elephant foot.
-calibration of extruder steps and correction in firmware or start GCode
-measurement of average filament diameter (edit in slicer).
-calibration of extrusion multiplier (edit in slicer) https://www.thingiverse.com/thing:1796601
-calibration of x/y steps and correction in firmware or start GCode https://www.thingiverse.com/thing:2484766 http://marlinfw.org/docs/gcode/M092.html
-calibration of z steps and correction in firmware or start GCode https://www.thingiverse.com/thing:2484766 http://marlinfw.org/docs/gcode/M092.html
-Print a Temp Tower to find a suitable temperature for your Filament and edit your slicer https://www.thingiverse.com/thing:2493504
Second thing is.... The caliper must move smooth and easy.... Good time to clean is up and give it a soft lube with tool oil.
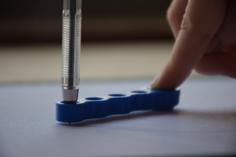
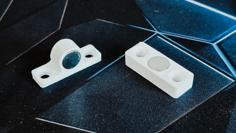
Edit 2: It was a hassle to fiddle the screw into the clamp an hold everything in to the right position, so i made the clamp magnetic. I used 12 Neodymium Magnets 3mm x 3mm and 2 Magnets 10mm x 2mm. The magnetic clamp is symmetrically, print the one piece twice.
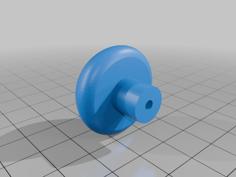
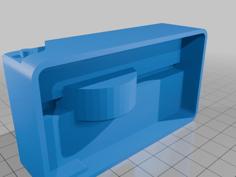
Edit: Added 16mm and 18mm version, depending on you caliper, a rounded knob and a bracket with blind hole for M4 Nut.
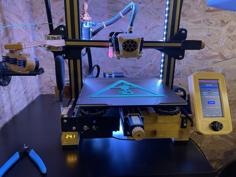
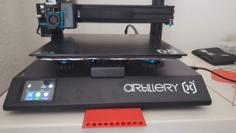
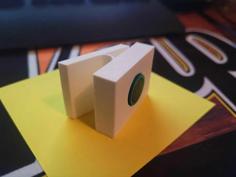
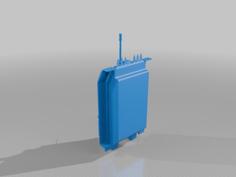
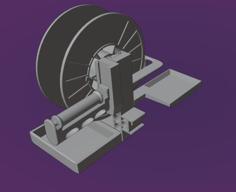
Tool to calibrate you E-Steps properly with a caliper.
Mainly made for my Artillery Sidewinder X1, but should fit every 20XX V-Slot frame with "Nut 6".
Made for max. 100mm extrusion.
Filament between extruder an caliper must have tension before you begin. Ideal is, to clamp it together and extrude some mm for tensioning.
Read the E-steps with M92
Send: M92
Recv: echo: M92 X80.29 Y80.37 Z399.64 E588.00
Recv: ok
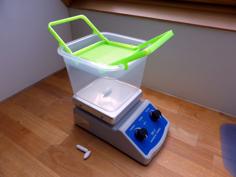
Connect caliper, heat up the extruder, extrude for example 100mm of filament.
Calculate the new E-Steps.
(demanded lengh / real lengh ) * actual steps = new steps.
Write with M92 EXXX.XX
Save with M500
You will need an M4 brass insert, soldering iron for the insert and an M4x15 bolt for the clamp that connects filament and caliper.
You can use it, without changing Filament, in my case the spool was at it's end....
| Klemme.stl | 112.2KB | |
| Klemme_unten_M4_Mutter.stl | 49.2KB | |
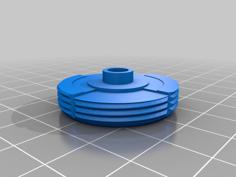
| Klemmschraube.stl | 903.9KB | |
| Klemmschraube_2.stl | 1.9MB | |
| Magnetklemme.stl | 229.0KB | |
| Messschieberhalter_16mm.stl | 550.0KB | |
| Messschieberhalter_18mm.stl | 409.5KB |