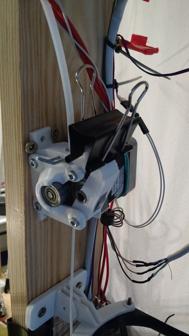
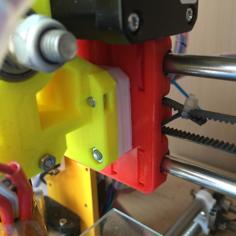
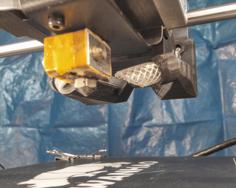
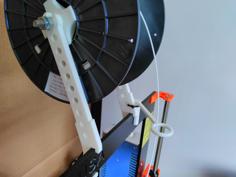
Say goodbye to warping and the noisy fans...
This mod work well with the hotend stock fan mounted on the I3 (also Mega-S,Mega-X). (E3DV5)
Only the extrusion cooling fan MUST be replaced by another model. (not necessary if you print only with ABS filament)
Update 07 September 2022
Broken links reported by the community has been updated ;) thanks
Update 05 June 2021 :
Files validated on Mega - X
Update 07 March 2020 :
Added Sunon Maglev extrusion Fan references
Update 15 January 2020 :
Following few requests, here are the link to the nuts and bolts used in this project
Case assembly :
Self Taping Screw
Fan BFB0512 assembly (extrusion cooling fan) or Sunon Maglev
Nuts
M4 x 25 mm NYLON (because maybe you will have to reduce the thickness of the head inside the fanbox)BoltsM4 Nylon or M4 Alloy blue Fan assembly (40x40mm Stock Fan or upgrade (see below))NutsM2.5 x 20mm
(kit M2.5)
Bolts M2.5 inside the kit
Update 03 December 2019 :
Added an E3DV6 adapted Right side (File Right Side RB5 E3DV6)
Added BL Touch Version for ED3V5 or ED3V6 Hotend (see below)
Update 27 September 2019 : More than 10K Views and 1K downloads, It's a hit ! :)
Thanks to all, please post your makes !
Update 07 April 2019 : Correct Mismatched link to 5015 Fan (thanks to Slobodan)
Update 29 January 2019 : Added Half air duct "half buse V1.3" see below
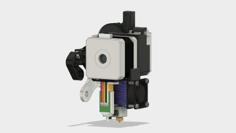
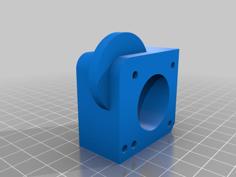
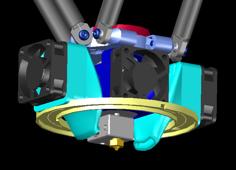
After trying a lot of fanbox for hotend for the mega i3, I was often disappointed by the characteristics, including poor head cooling for the printing of PLA, hot air escaping through the underside which causes detachments of ABS (Warping). As you can see on the utimaker S5, the bottom of the hotend is completely closed to prevent cooling of the part by the bottom side.
Lightening the fanbox allows the print head to be lighter and thus have less inertia, which allows higher print speeds, even without control of acceleration or jerk.
The front deflector design force the airflow to go up, by this way prevent delamination effect.
So I decided to create my own Fanbox for the I3 Mega.
After a lot of working hours under Solidworks and a dozen impressions, the result is there ..
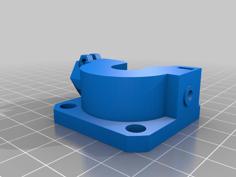
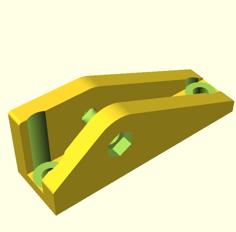
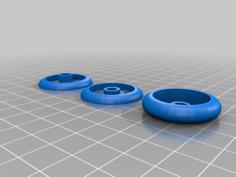
All parts are print WITHOUT SUPPORT.
Just choose the right direction for the piece to print.(see pictures)
Print in ABS because it is resistant to heat.
A finish with acetone is the most beautiful effect. (in a plastic box that seals tightly, place a sheet of aluminum foil in the bottom, wrap the inside of the box with paper towels, soak the acetone paper, place the ABS object on a stand (made for example wine bottle stoppers and toothpicks) so that the piece does not touch acetone, close the box for 10 to 30 minutes, and here ...
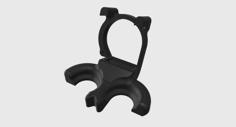
The extrusion fan duct MUST be replaced by the following one:
The Rolls Royce : Sunon MagLev (magnetic levitation bearings)
Sunon Maglev
(Don't care the yellow wire, tachymeter output, here it's not connected. connect only red and black wire)
or an efficient but more noisy fan (classic brass bearings, (no ball bearings))
BFB0512HH 12V 0.32A Type 5015 FAN
The extrusion fan duct is designed to provide an airflow efficient.
the internal aerodynamic shape of the fan duct was calculated, simulated and measured using a thermal camera.
The hotend original fan CAN be replaced by a very quiet fan
Sunon MagLev (magnetic levitation bearings)
or the Roll-Royce...
Noctua NF--A4X10
..only if you want to reduce the fan noise...
This design works great with the stock fan.
The bottom of the fanbox is closed to the maximum so that cold air does not cool the tray and the object when printing abs.
Prior to the installation, you have to check your original any.cubic hotend support is perfectly perpendicular, otherwise the new parts will not fit perfectly to the support. (see picture, mine isn't re-adjusted on this pic)
Few M4x25, M2.5x20 Nuts & Bolts, few M1 self taping screws and you will be ready to print PLA, ABS without headache
Led illumination will be added soon.
23 May 2018 : Parts "gauche.stl & "droite.stl" updated to V5, Top fixing holes has been adjusted, the two retention tips has been thinned because some guys report me the fixing screw of the little pcb with all connectors must be different in diameter on some batch of the printer.
10 January 2019 : Added "Half Buse V1.1 for the people who want to see the printing head in action or using a BLTouch like this one
BLTouch
Beware the fact the cooling maybe less efficient with this option
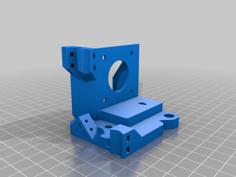
parts are optimized to be printed verticaly (see pictures)
E3DV6 HOTEND
The E3DV6 Hotend is a great update you must consider..
Here is the link to the part i use :
E3DV6
Be care, there are many copy and dimension variation about this part.
You must use the part "Right Side RB5 E3DV6.STL" instead of "Droite V5.STL"
BL Touch Version
I design a BL Touch Version of the Fan Box.
Here is the link to the BL Touch I used (beware of false or fake version)
BLTouch
You must use the file "Grid RB6 BLT.STL" instead of "Grille V3.STL"
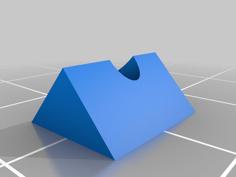
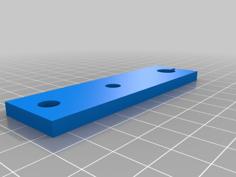
You have to print the BL Touch Spacer 'Support BLT.STL"
Follow the instruction on the PDF attached
Update 05 June 2020 added Buse V6 BLT ED3V6.STL
in order to allow the passage of the BLTouch pin
P.S. Please Post your makes !
I spend hours to design the object, please give me 5 min to post your make ;)
They are few things you sould consider :
the i3Mega is one of the best 3d printer for the money you spent, you should be sure !
But the manufacturer has put in the balance some features in order to provide a printer at this cost.
Updated 24 October 2018
Here are some modification i've applied to my printer
Cost : 0/5
difficulty : 1/5
Goal : Improving the cooling of the machine
Mean : Reversing the bottom plate
As you can see the bottom plate mask a fan dedicated to the motherboard cooling
Simply rotate the bottom plate .
Cost 3/5
Difficulty : 3/5
Goal : Improving the heatbed efficiency.
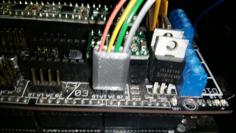
Mean : Adding a efficient Mosfet controller instead of the mosfet driver included on the motherboard
A MOSFET is one of the most important upgrades you can buy. This is because the MOSFET will help prevent the motherboard from potentially overheating and taking on too much pressure. This Any.cubic i3 Mega upgrade is said to reduce fire risk, and also provide better voltage to the motors – and therefore better printing quality.
The most common use of the MOSFET with the 3D printer is to regulate the high workload that the heated bed places upon the mainboard. Although we have heard of no accidents involving the Any.cubic i3 Mega, the high current of the hotbed can lead to stress for the mainboard connectors, and increase the possibility of a fire hazard or hardware malfunction.
Adding a MOSFET is an especially important Any.cubic i3 Mega upgrade if you 3D print with ABS, as this filament generally requires high bed and extrusion temperatures. But even if you’re sticking to low-temperature 3D printing materials like PLA, it’s wise to ensure that your heated bed isn’t overpowering your motherboard
The heatbed controller included on the Motherboard has two disavantages: fisrt: it's on board , so the heat dissipated is'nt efficient, second : the internal resistor of the onbard mosfet act like a second hotbed but at the wrong place.
-> The solution is to use an external Mosfet driver, it's internal resistance is null
-> all the current provided by the power supply is conducted directly to the Hotbed, that is improving the efficience of the hotbed, an achieved a quite and perfect regulation of the temperature.
i use this one :
Mosfet Board
This is the holder to print :https://www.thingiverse.com/thing:2758279
Cost 2/5
Difficulty 4/5
Goal : Improving the Thermal insulation of the hotbed
Mean : by adding a thermal isolation under the hotbed
Borried about the heating time of the hotbed and the temperature variation of this one, causing warping and adherence lost of the part on the hotbed, a simple solution is to isolate the hotbend by using simple material like on this video (they are plenty on youtube)
https://youtu.be/ZAa5tzwTacY
You can also use this isolation matérial ready to use :
Insulation Pad
Cost : 1/5
Difficulty : 1/5
Goal : Improve the close contact between the top cover Glass and the heater Pcb
Mean : Using simple paperclip (see picture)
Paper Clip
Cost 1/5
Difficulty 1/5
Goal : Improving Extrusion precision
Mean : adding simple springs tensioner on the belt
A spring belt tensioner car achieve to minimize the mislocation defaults of the printer head, by thus improving the printing precision, at least if the belt isn't new.
Belt tensioner
Cost 4/5
Difficulty 3/5
Goal : Minimize the sound generated by the running printer, with this mod, only the sound make by the fans will be audible. this is a crazy f*** improvement for lowering the sound produce during printing.
Mean : Replacing the originals motor steppe driver by 5 TMC 2208 Drivers. This kind of driver are plug and play on the sockets.
You need a correct multimeter to measure the voltage and made an adjustement on each driver. instead other models of TMCxxx , No solder iron necessary, you just have to rotate the connectors receptacles on the motherboard with a simple leatherman tool.
like on this video
Be care, some of the latest motherboard doesn't have support under the drivers boards.
the mod in this case will be very more difficult because you need to desolder the old driver and resold the new one.
This video is for motherboard with support under the drivers.
"https://youtu.be/QP8dZ8cUEBA"
the parts are here : (you need 5 pieces)
TMC 2208 V3.0
The standby voltage must be set on each board at the 1.5V value (see video). The ground for the voltmeter is taken on the black cable of the power entry on the motherboard
Cost 1/5
Difficulty 1/5
Goal : catching the hot bed when it's hot , without using the adjustement screw to pull up the hotbed front of you, and the risk to made something wrong about the bed leveling...
Mean : adding this simple printed part.
Handle
Cost 1/5
Difficulty 1/5
Goal : Lubrification of the axis guides, reducing noise
Mean : Using a refining base oil with lithium soap thickening, an antioxidant and anti-rust additives
Lubricant
By applying these simple mods, you wil own one of the best and lowcost printing solution on the market
//////////////////////////////////////////////////////////////////////
P.S. Please Post your makes !
I spend hours to design the object, my wife left, my children do not talk to me anymore, I had to sell the house and the dog ran away ... :)
If you like this model, post a make! I'd love to see it. Also, if you really, really like this model, consider throwing me a tip! Nothing is expected, but anything is greatly appreciated.Thanks!
/////////////////////////////////////////////////////////////////////
Happy printings !
Renba

