V3.0 Update:
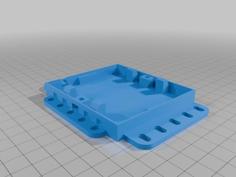
Modified the rollcage to be a bit more solid and have less openings. Means a little more weight but also means less annoying support material.
V2.1 Update:
Added screw holes throughout the chassis for mounting various armour upgrades.
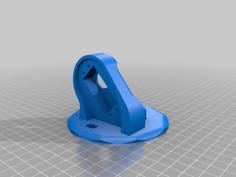
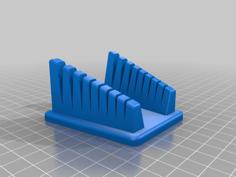
Also replaced the stand with a better version that should prevent the bot sliding off.
V2 Update:
Found an issue with Rollcage. He had a knack for getting stuck on his back, in the vertical position.
To fix Rollcage, this version has a tapered rear end now to help stop him getting stuck.
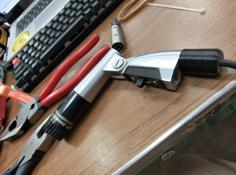
I also added some screw holes in the rear of the chassis for mounting some armour. I used some 1mm Lexan sheet, cut to size with some tin snips.
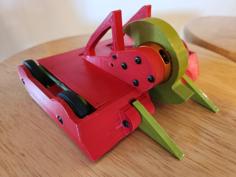
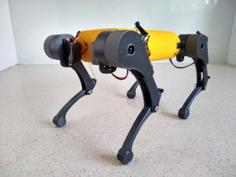
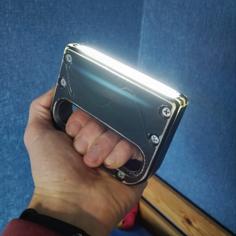
This is my 3D printed design of a bot used in our 150 gram Antweight combat league. I've named him Rollcage.
Rollcage is about as simple as you can get for an antweight bot. He is a standard wedge/pusher bot and is perfect for anyone looking to get into some robot fighting. We will be using the Rollcage design to make a few spares for newcomers to try out and fight with.
This bot leaves a little for you to customize as far as the internal components go but please use this list of components that I used as a guide to get you started:
Assembly:
Here's a build video of Rollcage:
https://youtu.be/YQmMvlJW1rw
| Microgear_Motor_Clamp_Offset_V1.0.stl | 104.3KB | |
| Rollcage_Bot_V2.1.stl | 303.2KB | |
| Rollcage_Bot_V2.stl | 248.9KB | |
| Rollcage_Bot_V3.0.stl | 490.7KB | |
| Rollcage_Stand_V2.stl | 17.9KB |