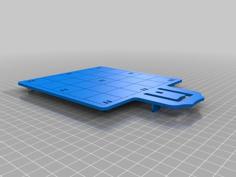
Aluminum Build Plate For Makerbot Mini (Printed On Makerbot Mini) 3D Printer Model
The file 'Aluminum Build Plate For Makerbot Mini (Printed On Makerbot Mini) 3D Printer Model' is (stl) file type, size is 11.9KB.
The file 'Aluminum Build Plate For Makerbot Mini (Printed On Makerbot Mini) 3D Printer Model' is (stl) file type, size is 11.9KB.
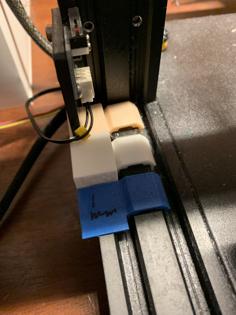
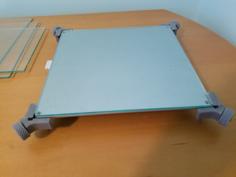
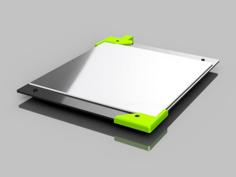
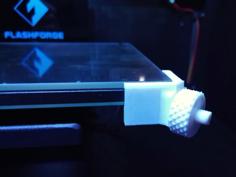
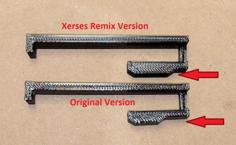
My original Makerbot Mini's plastic build plate keeps forming cracks on its build surface (See photo). I always use blue tape but I'm on my 2nd build plate. Aluminum would be far more durable so I built a new custom build plate.
It's printed on the Makerbot Mini itself.
My example photos are made with white PLA, but I recommend black PLA.
You will need:
JBWeld gray epoxy (Comes in two tubes you mix together). Don't get the 5 minute stuff. Get the longer curing kind.
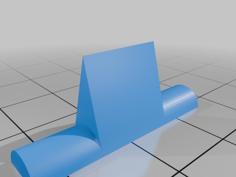
(2) Steel rods (Nails with heads cut-off.I'm not sure of their size, you'd have to size them up after printing)
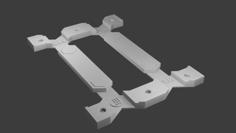
Build instructions:
If its not level:
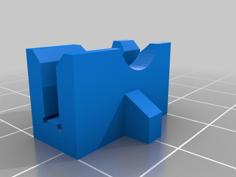
If the end of the bed is too high then remove a bit of material indicated in the picture using a dremel tool etc. Be sure to remove an even amount left to right.
If the end of the bed is too low (or you've removed too much material) them mix up a batch of JBWeld epoxy and build up the indicated area until satisfied.
When finished, the unit should slide in and out of the base just like the original equipment. If insertion/extraction is "rough" then a bit more sanding should help.
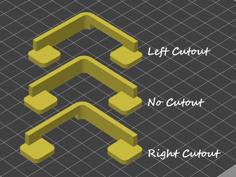
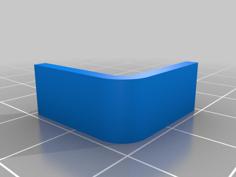
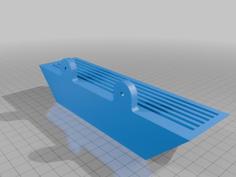
| Build_Plate_Cap.stl | 9.7KB | |
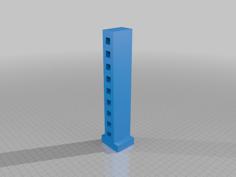
| Build_Plate_Left.stl | 109.6KB | |
| Build_Plate_Right.stl | 109.4KB |