Allsky Camera Mount For Weatherproof Enclosure With Build Instructions 3D Printer Model
The file 'Allsky Camera Mount For Weatherproof Enclosure With Build Instructions 3D Printer Model' is (stl) file type, size is 303.7KB.
The file 'Allsky Camera Mount For Weatherproof Enclosure With Build Instructions 3D Printer Model' is (stl) file type, size is 303.7KB.
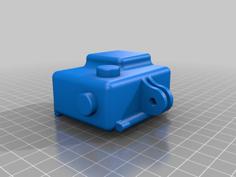
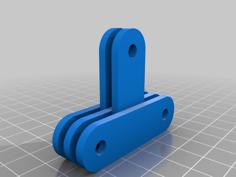
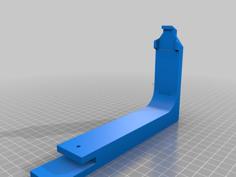
Hope this helps others. I've built an easy to assemble Allsky camera mount with pretty complete build instructions. The two 3d printed parts are a base plate and camera plate. No supports are needed, I printed with ABS and a .3 layer.
I sell a variety of 3d printed goods, meshtastic radios, pwnagotchi / minigotchi kits and various electronics kits / accessories on Etsy, always trying to add more. If you like the models I've made, maybe you can find something on my store to help support the work.
Thanks! https://magicgrowingshop.etsy.com
EDITS: 1-25-24
Added a V2 which I'd recommend, it uses less material, allows more room for other stuff to be mounted in the enclosure, so download base plate V2 and camera plate V2.
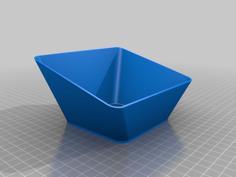
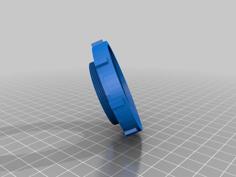
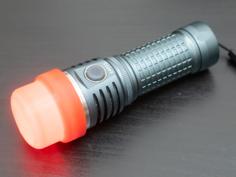
Also added a light shield that mounts under the camera and keeps any reflections from the rpi lights from the dome at night. The buck converter I'm using made a shocking amount of light and big red smears across my images. All good now, that'll work with either version of the other parts, it's just a thin disk.
Allsky is based on the project by Thomas Jacquin, who can't be thanked enough for the amount of work he put into this.
Learn more about the builds and software at the following links.
Allsky Instructables - https://www.instructables.com/Wireless-All-Sky-Camera/
Allsky Software Github - https://github.com/AllskyTeam/allsky
Allsky Software Installation Instructions - https://htmlpreview.github.io/?https://raw.githubusercontent.com/thomasjacquin/allsky/master/html/documentation/index.html
You should read everything on those pages before starting!
To build your own Allsky camera, you'll need the following.
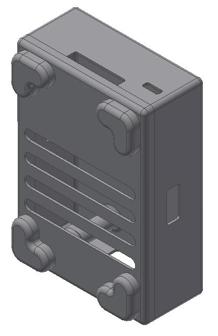
Weatherproof enclosure (Waterproof ABS Plastic Project Box 4.9 x 4.9 x 3)
https://www.amazon.com/dp/B075DG2CN6
CCTV dome without flaws
https://www.amazon.com/dp/B09GLPCG56
I ordered 8 different domes to find one that didn’t have weird ripples. This one worked for me, your experience may vary.
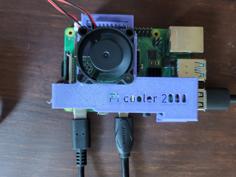
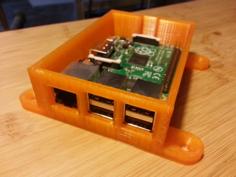
Raspberry pi zero 2w, 4b or 5 (I’m using a rpi 5 with the active cooler) 2+gb ram best.
Raspberry pi hq camera
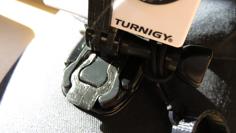
Whatever fisheye lens you want, I’m using the all sky lens from a Zwo camera.
Raspberry pi zero camera cable at least 75mm
Usb cable whatever length you need.
Could use usb or 12v weatherproof bulkhead fitting if you want.
Microsd card (I use 256gb, overkill)
2x m4 x 10mm hex button head bolts
12x m2x10mm hex button head bolts
12x m2 brass inserts
Optional syringe filters for venting. (drill a few holes inside the case where you have room to silicone a syringe filter in. These allow air pressure changes without any moisture)
Optional Dew Heater. I'm not using one for now because the Rpi 5 is going to run hot and the cooling fan circulates air well. If you are running a lower power rpi or have a dew problem, you might need some resistive heating.
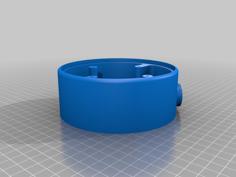
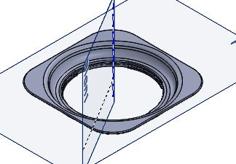
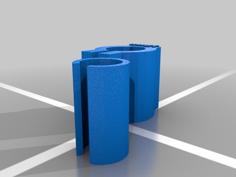
Optional, added a third part called dome baffle, which was just to give some extra surface area and clamping to hold down the specific dome I used for the project. The flange was just a little thin for what I wanted.
Building the Allsky
Install the latest raspberry pi os on the Microsd card and make sure to turn ssh on, add your wifi and username / password. Don't install a light version without a desktop. Everything else can be set up remotely.
https://www.raspberrypi.com/documentation/computers/getting-started.html
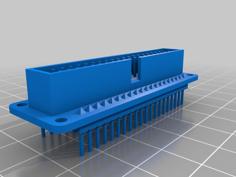
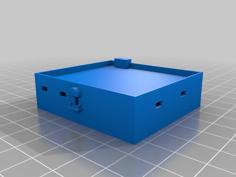
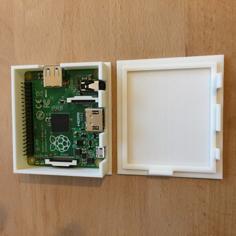
Print the base plate and camera plate from this page.
Drill out the two holes in the base plate to match the orientation you want with the enclosure mounting posts. I used a #18 drill bit.
All other bolt holes are printed for brass m2 heat set inserts.
There are mounting holes to use the rpi zero 2w if you want. It may be underpowered for a full featured allsky setup. If you do, you’ll need two little 2mm spacers or plastic washers for those mount holes.
Drill the holes in the camera plate on the corners clear with a #46 drill bit.
Use a 2.5” hole saw or cut a 2.25” square hole in the enclosure lid. Clean up the hole.
Drill a hole for your usb power cable. If you are adding other things, you have to figure out how you want to power it. There should be room for the POE+ hat if you want to run Ethernet for power with a bulkhead fitting. I'm going to power the pi5 with the following 12v-usb C board and a 6" usb C pd cable.
https://www.amazon.com/dp/B09D98799T
Bolt base plate to enclosure.
Insert sd card in rpi.
Mount rpi to base plate.
Hook up power cable.
Attach camera cable to rpi.
Run camera cable through vent slot on camera plate and attach to hq camera.
Mount hq camera to camera plate.
Bolt camera plate to base plate.
There is plenty of room to install whatever optional hardware you want in there. Temp sensors, power control, etc.
Test everything! Follow allsky installation instructions on the GitHub.
When it all works you can silicone glue the cctv dome to the enclosure lid and close it up.
To focus your allsky camera do the following steps
Install realvnc viewer on another device
SSH to your rpi and do the following
Enable vnc and boot to desktop in raspi-config on the rpi (sudo raspi-config)
Start a vnc desktop on rpi with (vncserver-virtual)
Open realvnc viewer on your computer or phone
Connect to rpi desktop
Open terminal in the vnc desktop and run libcamera-hello -t 0
Set your focus. There is a focus helper you can turn on in the Allsky settings.
Update, I solved the problem with the RPI HQ camera not setting dark frames with the correct name for the temperature. The following instructions may be outdated at some point if they fix the main software, but for now do the following.
https://github.com/AllskyTeam/allsky/discussions/3309
Thanks for making! Hope this helps someone.
| Base_PlateV2.stl | 1.4MB | |
| Camera_PlateV2.stl | 1.4MB | |
| dome_baffle.stl | 907.6KB | |
| light_shield.stl | 324.9KB |