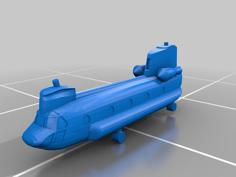
AH-64 Apache 3D Printer Model
The file 'AH-64 Apache 3D Printer Model' is (stl) file type, size is 16.4MB.
The file 'AH-64 Apache 3D Printer Model' is (stl) file type, size is 16.4MB.
BEFORE DOWNLOADING THESE FILES, PLEASE CONSIDER HEADING OVER TO MAKERWORLD AND DOWNLOADING THE FILES INSTEAD. THIS SUPPORTS MY EFFORTS TO A HIGHER DEGREE AND ALLOWS ME TO CREATE MORE HIGH QUALITY MODELS. OTHERWISE, ENJOY THE MODEL!
SUMMARY:
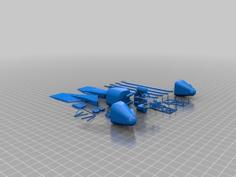
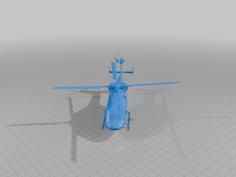
This model was designed in shapr3d with the AH-64 Apache helicopter as reference. The model is designed to print and assemble easily, so there are minor modifications to the overall design in order to do that. I do have a few refinements and updates in mind for the future to increase the level of detail and improve the wheels a bit. If you come across any issues, please leave me some feedback.
I've included printing settings, post-processing tips, and assembly instructions with diagrams. Hopefully this makes it simple and fool-proof, but if anyone has confusion, don't hesitate to reach out.
PRINTING/ASSEMBLY:
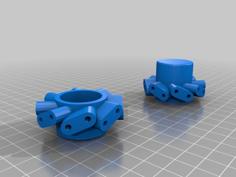
Below are the slicer settings I used. Post-processing is fairly straight forward. There's a few brims that need to be removed, which I do with a deburring tool. The supports should all pop off fairly easily. The wheels will likely need a few drops of oil for lubrication, but once the supports are removed you will need to roll them a few times to free up any snags. The sensor turret may have a little stringing inside, but the other half drops into that socket anyway, so just drop in some super glue and smash it together. The windows are designed to be printed on a patterned plate for effects, so just make sure they're face down on the build plate.
Global Settings:
0.12mm Standard Layer Height Profile
Infill Type: Gyroid
Infill Density: 10%
Wall Loops: 3
Cabin:
Enable Supports:
Normal (Manual) - Painted on under the wings only
Snug
On build plate only
Engines:
Enable Supports:
Normal (Auto)
Snug
On build plate only
Tail:
Enable Supports:
Tree (Manual) - Painted on under the stabilizers and the tail gearbox
Tree Strong
On build plate only
Turret:
Enable Supports:
Normal (Auto)
Snug
On build plate only
Wall Loops: 6
Tail Rotor:
Wall Loops: 6
Night Vision:
Enable Supports:
Normal (Auto)
Snug
On build plate only
Wheels:
Enable Supports:
Normal (Auto)
Snug
On build plate only
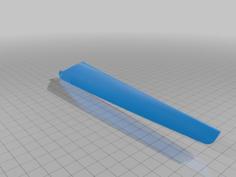
Primary Rotor:
Wall Loops: 8
Brim Type: Outer only
Brim Width: 7mm
Assembly:
The assembly primary requires no glue (the nose mounted gear needs glue), but I recommend using super glue if this is going to be played with. The fit is fairly snug for most components, so all you need to do is press them into place.
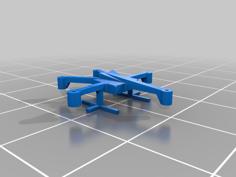
Assemble the main body by inserting the alignment pins into the cabin body and pressing the pieces together. This consists of (3) pieces, the nose, cabin, and the tail.
Insert the round pins for the engines and mount those by pressing them onto the pins.
The wheels, once supports are cleaned up, should just press into place. The tail wheel is very tight, so you may either want to use a long bar clamp if you struggle to get it in, sand down the edges a touch, or print at 99% scale. I made it very tight as it holds the weight of the helicopter and is on the horizontal plane which makes it much more susceptible to bending at that joint.
Next the rotors pop into place. The primary rotor is a bit tight, but will spin freely once pressed into place. Be careful to press in the center only so you don't bend the blades and snap the center pin.
The windows also just press into place, but the top middle section is made of two pieces. Press the very top piece up into place just under the small lip, then place the adjacent piece on top and press it into place. The angle of the second piece is designed to hold the other piece in.
The final piece is the nose mounted gear. Just glue the sensor turret pieces together and glue the two nose mounted pieces into position on the nose.
| AH-64_Apache_Cabin.stl | 23.6MB | |
| AH-64_Apache_Hardware.stl | 4.9MB | |
| AH-64_Apache_Rotor.stl | 1.3MB | |
| AH-64_Apache_Tail.stl | 8.4MB | |
| AH-64_Apache_Windows.stl | 457.6KB |