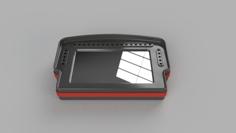
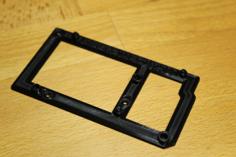
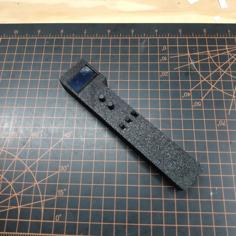
Thicker version of Arduino Bumper with tabs and plastic front posts to securely hold your Arduino Uno board, while preventing shorts, desktop scratching, and clearing all pins.
Excellent first project for students and enthusiasts. Print your own Arduino bumper/mini-case
The walls are taller and the front port openings adjusted for a snug fit.
Simply tip your board and slide under the rear tabs and push into place.
Note: Rear tabs are self-supporting and get a little spaghetti under them. You can trim any big pieces with pointy scissors, but leave some under there to help friction fit the board and hold it into place.
One set of holes is left for rivets, screws, etc to permanently attach boards, but it does a good job of holding the board in the bumper on its own.
If you look into the grooves for the solder pins under the board on each side, you can see filament patterns to retain the "DIY 3D Printer look." Holding it up to the light reveals the inner structure as well.
Should work quite well in a classroom or other environment where boards are shuffled around. Works well with shields, too.
I've included the 123D Design file to allow easy customizing. STL and G-Code are also included. The G-Code is the slow setting for Monoprice IIIP (Wanhao i3 Select Plus), Ultimaker v2-ish printer.
If I print at REALLY FAST speed, it is still quite good, but you'll start to see tool lines and perhaps filament gaps. I was pushing my machine as a test.
Takes about 15-20 mins on fast (slice your own for your printer with your fast settings) or 30-60 mins on slow/best quality.
Bottom half of side walls should work well for raised lettering or customization. Slightly inset...watch for interference with other structures.
I used 1.75mm PLA from Hatchbox on the Monoprice IIIP Select Plus printer. 123D Design to import and remake the design, MeshMixer to make the STL, Cura III-P edition to slice.
Post up your makes!
Teachers, educators, hobbyists! If you use the ideas or files above to learn or teach someone else and found it useful, PLEASE provide some FEEDBACK ;)
If there is enough interest, I'll make more detailed lessons, complete with all files and information necessary for a successful learning experience.

