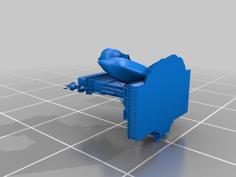
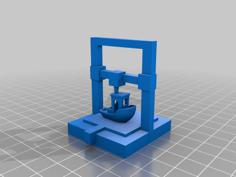
My first 3d Printer was an ADIMLab Gantry-S. One of the stepper controllers on the original motherboard failed, so I bought a BIGTREETECH SKR V1.4 Turbo motherboard and a BIGTREETECH TFT35 E3 screen to replace it and the original screen. I wanted to move the electronics under the chassis, so I designed this.
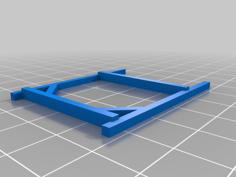
- The chassis for the ADIMLab Gantry-S is approx. 37mm deep by 34mm wide. This should fit other printers of the same size, with 20x20 or 20x40 rails.
- The stock feet can be used in this undercarriage. I used the locking nuts to secure them in.
- you will need alot of tnuts and screws to attach it to the printer chassis
- You will need alot of 3mm screws and 3mm burled heat pressed nuts to connect the sections and covers.
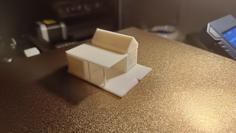
- I have not tested the drawer_case or the drawers yet. I included a small corner (drawless_case) to use in its place (like you see in my pictures). You can replace any of the 4 sections with it (mirror it for other corners).
- This moves the motherboard to the opposite side of the printer, which works better for me. You can mirror the whole thing to put it back to the original side.
- I made the motherboard tray removable and replaceable, so if I get a different board, I only have to print a new tray, instead of a new electronics case.
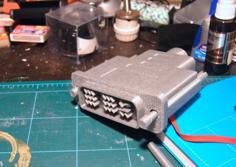
- There are two different trays included, one for my new board and one for the original board, the MKS Robin Lite 1.1.
- There is an opening beside the motherboard tray for the display ribbon to exit.
- you can modify one of the motherboard trays to another motherboard. The big hole in the tray is to save material, BUT it is required for clearance of one of the chassis screws.
- There is a space for a small board (elec_tray) next to the motherboard. I included a blank tray and one for a XL4015 dc-dc step down module. I use it to power 12V lights from the 24V power supply.
- The wire_case has two versions, one without a fan and one with. Only print one or the other.
- There are 2 10mm holes in the back of the wire_case for wires to exit. I included a 10mm plug if you only need one.
- The electronics_lid has two versions, one with an 80mm fan and one with no fan. Only print one or the other.
The drawer_case, drawers, powersupply_case and electronic_case are too big to print on the ADIMLab Gantry-S. I printed them on a Creality Ender 3 Max Neo.