Hi,
in addition to vanmunchs Rubber Band Mini Blaster (http://www.thingiverse.com/thing:672654) I created a different solution cause you don't get the missing parts that easy in europe. Addiditonally to my printing parts I used:
for glueing: UHU Plast Spezial (works perfectly with ABS)
as connection for the sockets: 5mm rod ( I used aluminium)
as motor: http://www.amazon.de/3-6V-kurzer-Welle-Drehmoment-Getriebemotor/dp/B008OAYP8Q?ie=UTF8&psc=1&redirect=true&ref_=oh_aui_detailpage_o08_s00
a battery holder just like this http://www.amazon.de/10er-Set-Batteriehalter-Mignon-Druckknopfanschlu%C3%9F/dp/B00X4R2AYU?ie=UTF8&psc=1&redirect=true&ref_=oh_aui_detailpage_o04_s00 , but since there is not enough space in the body you'll have to cut of the holding wings of the holder and just tape the batteries in: http://www.amazon.de/10er-Set-Batteriehalter-Mignon-Druckknopfanschlu%C3%9F/dp/B00X4R2AYU?ie=UTF8&psc=1&redirect=true&ref_=oh_aui_detailpage_o04_s00
as button is used: http://www.amazon.de/SODIAL-5er-momentanen-Armaturenbrett-aus/dp/B00HUHBV40?ie=UTF8&psc=1&redirect=true&ref_=oh_aui_detailpage_o03_s00
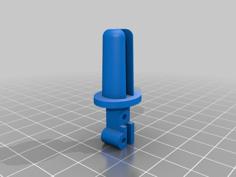
as motor connection: M3x10 screw with M3 nut (you will need to add a drilling for the screw, as you can see in the picture).
to connect the motor to the body you'll have to cut out some of Top body
to connect the cover to the body I added two short 3mm bolts and made a 2,5mm drilling to ensure that the bolts are not loose. I know the cover is much bigger, but otherwise you don't get 4 batteries in. I also think that with this solution your fingers get less easy involved with the spindal.
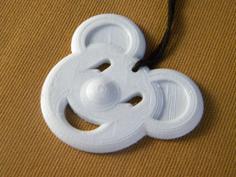
the cord holder is just glued to the body as you can see in the picture.
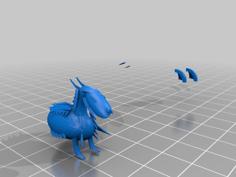
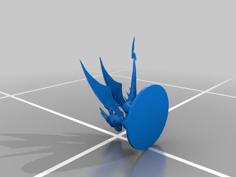
I added another spindal cause the motor I used was not strong enough for a 90mm spindel, but I couldn't find a stronger one for 6V.
As cord I used a nylon cord for the string serving (archery)
I asked vanmunch for permission to this, but I also strongly recommend that you use his shop to get the additional parts.
Have fun
NinjaQ
| connector_motor-body.STL | 274.2KB | |
| Connector_motor-spindal-Part1.STL | 21.4KB | |
| Connector_motor-spindal-Part2.STL | 21.2KB | |
| cord_holder.STL | 132.0KB | |
| cover.STL | 245.7KB | |
| socket_back.STL | 22.9KB | |
| socket_front.STL | 34.5KB | |
| Spindel.STL | 925.8KB |