3Drag Central Z-axis With Trapezoidal Leadscrew, (Velleman K8200) 3D Printer Model
The file '3Drag Central Z-axis With Trapezoidal Leadscrew, (Velleman K8200) 3D Printer Model' is (stl,stp) file type, size is 794.2KB.
The file '3Drag Central Z-axis With Trapezoidal Leadscrew, (Velleman K8200) 3D Printer Model' is (stl,stp) file type, size is 794.2KB.
English Below
NB Consiglio la seguente soluzione alternativa
http://www.thingiverse.com/thing:1854399
Questa è una versione alternativa dell'idea di sgabolab di asse Z centrale per 3Drag.
https://www.thingiverse.com/thing:1496357
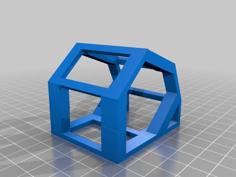
NB. Controllare subito se la chiocciola della vostra barra è compatibile con questo design (ho caricato anche il modello solido .stp completo).
Non si ricerca un'aumento della risoluzione elettronica (step/mm) ma un miglioramento della meccanica.
Occorrente:
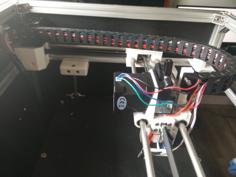
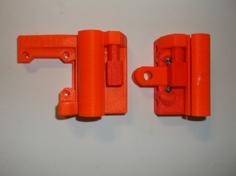
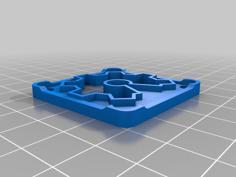
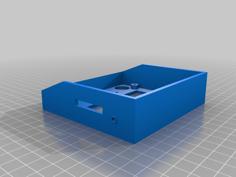
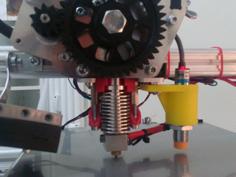
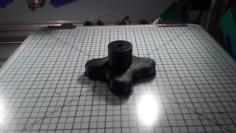
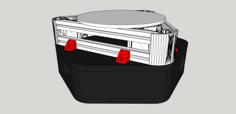
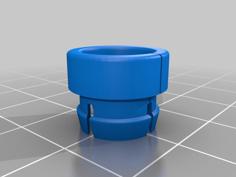
Si vedano le immagini per il montaggio. Il concetto è: la chiocciola ruota supportata dal banco di cuscinetti e fa avanzare verso l'alto la barra filettata che è connessa rigidamente agli elementi traslanti lungo Z (in pratica non è più la barra filettata a ruotare su se stessa ma la chiocciola).
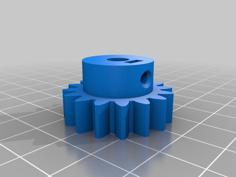
Si può utilizzare questa modifica utilizzando barre filettate trapezoidali di diametro 8 mm con differenti passi (8mm/giro, 4mm/giro 2mm/giro). La coppia di ruote dentate ha un rapporto di trasmissione di 4/5.
Considerando un microstepping di 1/16 si hanno le seguenti risoluzioni:
Queste configurazioni sono state studiate per utilizzare altezze di layer multiple di 0.05 mm in quanto uno step intero del motore produce nei 3 casi un avanzamento di 10mm/200=0.05, 5mm/200=0.025, 2.5/200=0.00125. Infatti è buona norma utilizzare altezze di layer multiple del full step del motore (Vedere per approfondimenti http://manual.slic3r.org/troubleshooting/troubleshooting#z-wobble).
P.S. Se utilizzate la vite con passo 8mm/giro assicuratevi che il moto retrogrado della chiocciola sia impedito durante la stampa.
Ricorda inoltre di cambiare il parametro step/mm dell'asse Z della tua stampante!!!
ENGLISH:
NB: my advice. This mod is better:
http://www.thingiverse.com/thing:1854399
This is a mod of the first idea of central z-axis for 3Drag by Sgabolab.
https://www.thingiverse.com/thing:1496357
NB. Check immediately if your trapezoidal nut fits this design (I uploaded the solid model .stp).
This design improves the Z-axis of 3Drag from a mechanical point of view. The final electronic resolution is not higher than the standard one.
You need:
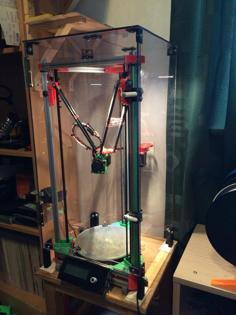
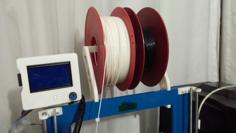
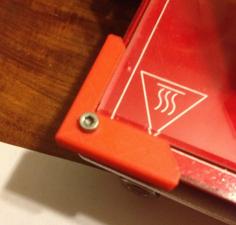
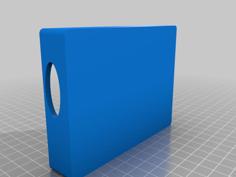
See the images for the assembly.
The gearing has a ratio of 4/5. Depending on the lead of your leadscrew (8mm/turn, 4mm/turn, 2mm/turn) you get the following resolution (with 1/16 microstepping):
These configurations have been studied to use layer heigth of 0.05mm, 0.1mm, 0,15mm, 0.2mm and so on... (multiple of 0.05mm). This because a full step of the motor correspond respectively to 10mm/200=0.05, 5mm/200=0.025, 2.5/200=0.00125. A layer height multiple of the full step of the stepper motor (in mm) is a good choice (see http://manual.slic3r.org/troubleshooting/troubleshooting#z-wobble)
P.S. if you're using the 8mm/turn leadsrew pay attention to the backward motion. You have to avoid backward motion of the nut during printing.
Remeber to update the steps/mm parameter of the Z axis of your printer.
| aggancio_vite.stl | 241.0KB | |
| Assembly3.stp | 1.3MB | |
| Basetta_inferiore.stl | 121.3KB | |
| do_not_print_Check_dimension.stl | 226.4KB | |
| flangia_nema.stl | 149.9KB | |
| forchettaV2.stl | 198.2KB | |
| main_support.stl | 561.7KB | |
| ruota_20_denti.stl | 357.5KB | |
| ruota_25_denti.stl | 217.3KB |