3D PRINTER PRINTING ORNAMENT - Separate Parts
This is a remix of...
3d Printer Christmas Ornament
https://www.thingiverse.com/thing:6355052
... by TimeFuture121, posted December 05, 2023
I'm not entering this model in the Tree Ornament Challenge because the design is not mine. My remix is predominantly mechanical not artistic and I don't intend to take any credit from the OP, whose work is what created this very neat design.
UPDATE 11/29/24:
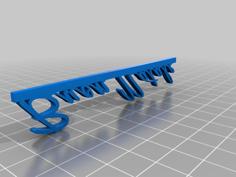
Added a new file <Frame - 2024.stl> ...
...with the text updated to "2024".
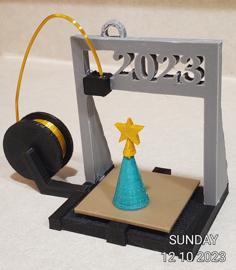
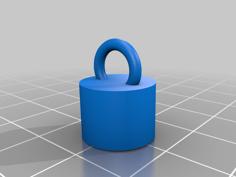
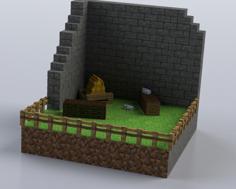
The original model was in one piece. All I've done for the most part is to break it down into its primary component parts so that they can be printed as separate objects with the intent of printing various pieces in different colors (I hate painting 3D printed pieces). There are nine parts which I've called...
Some modest changes were made to the model to facilitate ease of printing, gluing the pieces together and to make the glued up object reasonably strong. I also added the text "2023" between the horizontal frame bars and offset the hanging loop to the left so that the item hangs more or less level when completely assembled. The only other obvious change is angled gussets integrated into the back of the vertical legs of the frame to increase the gluing area and to give some additional rigidity to the upright part of the model.
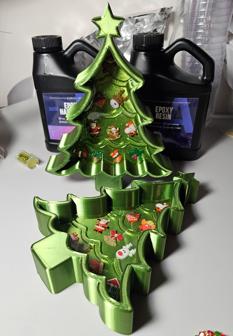
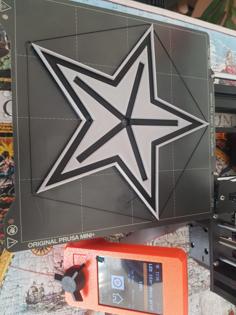
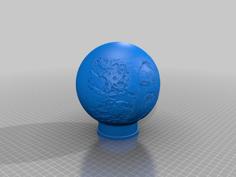
Only the Christmas Tree ornament was modeled, not the ball. The tree and the star tree topper are modeled as separate pieces so they can be printed in separate colors (have I mentioned that I hate painting 3D models). Since the contact area between them is small both the tree and the star have 2 mm holes where they mate so that a short piece of filament can be used as a pin between them.
There also are 2 mm holes in the top of the print head and more or less tangentially in the edge of the "filament" on the spool. It will probably be necessary to use a 1.8 or 2 mm drill to bring the holes back to the intended size after printing. With the help of some heat a short piece of filament can be bent appropriately and fitted between the holes. If the filament is made the same color as the tree star there's the illusion that the star has just finished printing.
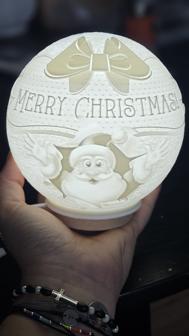
The only complete assembly I have at the time of this writing is the prototype, all in white. I'll add a photo of the finished version once I have one ready.
I printed all the parts with PLA using a 0.3 mm nozzle, 0.8 mm shells and 0.15 mm layer height. Infill is at 10% and seems enough. Cyanoacrylate gel was used to assemble all the parts.
| Arm_rev_1.stl | 18.0KB | |
| Back_rev_0.stl | 25.6KB | |
| Base_rev_3.stl | 9.1KB | |
| Bed_rev_1.stl | 2.2KB | |
| Filament_rev_0.stl | 28.0KB | |
| Frame_-_2024.stl | 88.0KB | |
| Frame_rev_2.stl | 81.9KB | |
| Head_rev_1.stl | 19.8KB | |
| Star_rev_3.stl | 11.2KB | |
| Tree_rev_1.stl | 11.2KB |