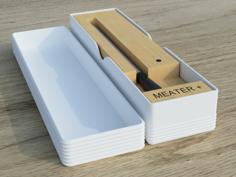
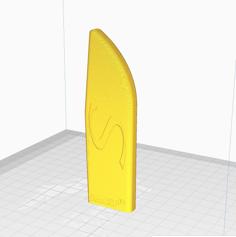
2×4 Tripod Hitch Table 3D Printer Model
The file '2×4 Tripod Hitch Table 3D Printer Model' is (stl) file type, size is 292.4KB.
The file '2×4 Tripod Hitch Table 3D Printer Model' is (stl) file type, size is 292.4KB.
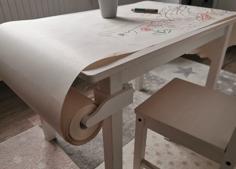
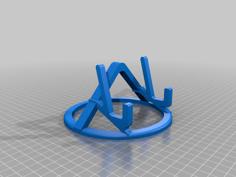
3D data for creating a tripod hitch table in 2x4 standard timber. It truly works!
In addition to the 3D-printed products, a wooden top panel, three 2x4-standard timbers and several screws are required.
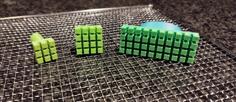
A one-tenth size miniature model has also been uploaded. You can use it to check the structure of the hitch or just enjoy it in miniature size. The mini 2x4 timbers and the top panel have a very loose fit and should be glued together when used in practice.
[How to assemble]
1) Cut 2x4 timbers.
Cut each end of each of the three 2x4 timbers at a 20° angle.
The length of the timber should be calculated backwards from the height of the table you want to finish, remembering that if you cut both ends of the timber at an angle at 20 degrees you lose 71.18 mm from the original vertical length. See the posted image for more information on this.
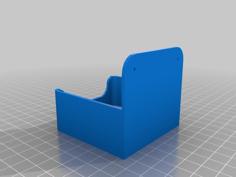
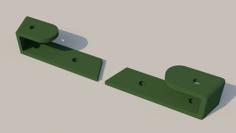
2) Screwing the joint to the timber
Use short screws (15-20 mm long) on the short timber side and long screws (30 mm long) on the long timber side.
The diameter of the holes in the joints is 6.5 mm on the surface and 3.5 mm inside.
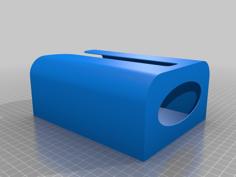
3) Thread timbers through the holes in the Hitch.
The hitch is designed to allow three 2x4 timbers to be inserted diagonally.
Once the timbers have been inserted, the whole hitch should be placed upside down on the top panel, fine-tuned to an angle where the cutting section of the timbers is in straight contact with the panel and the timbers are properly 'leveraged' against the hitch.
4) Screw the tripod to the top board.
The length of the screws used is not specified. Select the appropriate length according to the thickness of the top panel.
| hitch.stl | 16.7KB | |
| joint_x1.stl | 246.6KB | |
| joint_x3.stl | 739.2KB | |
| mini_one-tenth.stl | 33.5KB |