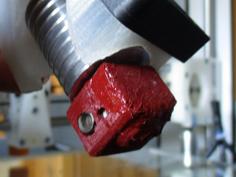
I've been using this stabilizer for over a year now, primarily on my Trusted Axis 1201, and also extensively with Surf and Downwind Foiling on Gong Gear, such as the VeloceH and CarveH. In fact, I won the first-ever German downwind race with it in May 2024. I’ve tested it against various other stabilizers, including the KD-Maui Merlin, Axis Progression, Crisp OG, and Sab Flat Stabs. Based on my tests, it feels quite similar to the Progression 300. Though relatively small, it’s agile, and its thickness provides ample lift, offering far more control compared to something like the Axis Skinny.
Videos of it being used: (more in the pipeline)
https://www.youtube.com/watch?v=B4VUOUXWs28&t=99s
https://www.youtube.com/watch?v=Fkkc7fLr3w8
https://www.youtube.com/watch?v=68HJhbXZcqM
Who is this for?
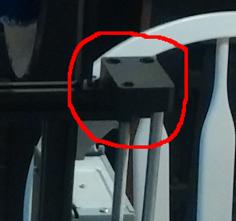
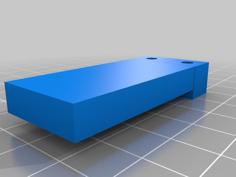
This stabilizer is ideal for hydrofoil enthusiasts who enjoy building and experimenting with different shapes. The stabilizer adapter is designed for Axis and is leveled at 1.5 degrees, though it can be modified to fit other brands. I personally chose the Axis Fuse as my base platform. For those who like to carve! It's amazing for exactly that and pumps well. What it does not like is excessive speed, everything above 33 kmh or so I would prefer something smaller and more shaped like the AXIS Skinny. However for everything slower than that I really enjoy the somewhat locked in yet super loose feel of this size.
How to Build It:
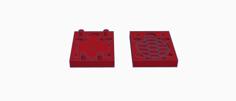
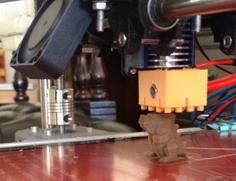
Print all molds and clips as smoothly as possible, then apply mold release wax or another release coating.
Pre-cut carbon fiber and glass fiber to fit the mold’s size. For 200 g/m² carbon fiber, I used about 28 layers, tapering the layers toward the center.
Pre-lay the layers and test the mold closure. If it closes easily, add more layers; if it’s difficult to close, remove layers.
Wet each layer with epoxy and apply them to the bottom molds.
Add the top molds and compress them tightly to squeeze out excess epoxy—the more pressure, the better.
Once cured, remove the molds, finish the surface, drill the necessary holes, and you're all set!
This method provides the easiest approach, but always ensure you're adhering to safety guidelines. The uploader assumes no responsibility for the building process.
Design Process:
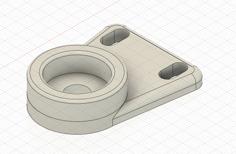
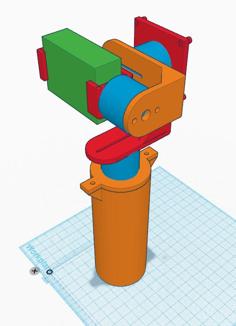
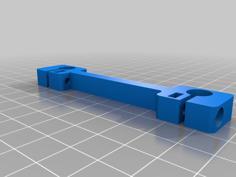
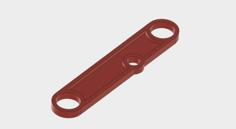
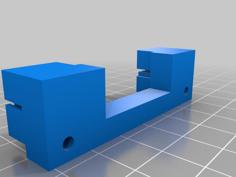
I designed this hydrofoil, along with the adapter and molds, using Winghopper and Fusion360.
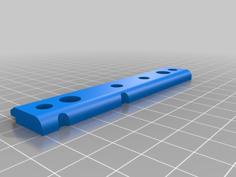
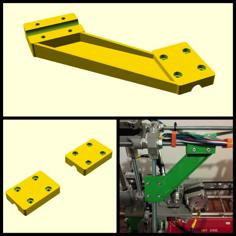
| 147_LS-Carve_to_Axis_Adapter.stl | 342.7KB | |
| 147_Stabi.stl | 215.2KB | |
| down_left.stl | 318.8KB | |
| down_rigth.stl | 329.1KB | |
| Mold_Clip.stl | 5.0KB | |
| up_left.stl | 312.3KB | |
| up_rigth.stl | 302.2KB |