12v Battery 3D Printer Model
The file '12v Battery 3D Printer Model' is (stl,stp) file type, size is 281.0KB.
The file '12v Battery 3D Printer Model' is (stl,stp) file type, size is 281.0KB.
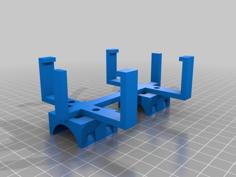
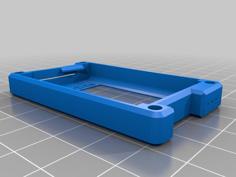
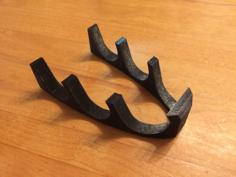
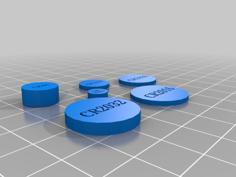
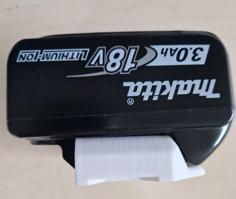
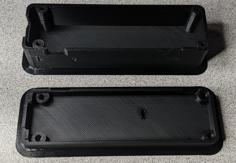
This is a case for three 16350 cans. It can be used to create both a 12V battery and a 3.7V battery. Three battery guards are supposed to be placed on the back of the case (link in the BOM). Assembly instructions:1) Solder short wires to the ends of the spring contacts (keep in mind that the wire should be located on one side).
2) Glue the spring contacts to their seats and glue the three battery guards to their seats (on the back of the case, where the cable channels are)
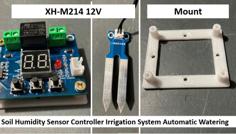
3) Solder the entire structure, including the charge test button and the charge test board.
4) Install the button on the seat (on the back of the case under the indicator board), and you need to tear off two legs flush.
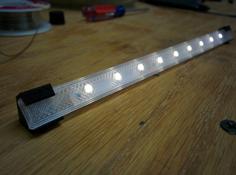
5) Install the indicator on the seat.
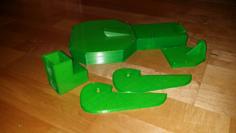
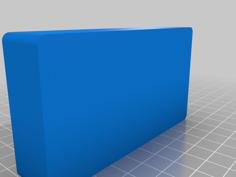
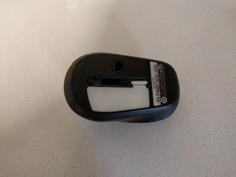
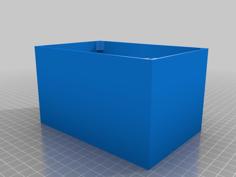
6) GLUE the back cover. Do not mix up the position, the button should be opposite the button.
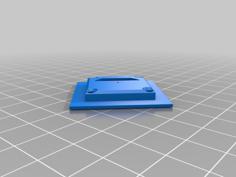
7) Close the reusable lid.
I did not take a photo during assembly, but everything worked out. All the landing places are obvious.BOM:Indicator https://aliexpress.ru/item/1005001782155135.html?spm=a2g2w.orderdetail.0.0.74d04aa651O889&sku_id=12000017560 591180
More projects here: https://www.thingiverse.com/zubenin_industries/designs
For donations: account ЮMoney 4100118877002743
| back_cover.stl | 73.0KB | |
| back_cover.stp | 90.1KB | |
| frame.stl | 592.4KB | |
| frame.stp | 360.0KB | |
| removable_lid.stl | 117.5KB | |
| removable_lid.stp | 169.7KB |