120 6×6 Cartridge For Polaroid Pack Cameras 3D Printer Model
The file '120 6×6 Cartridge For Polaroid Pack Cameras 3D Printer Model' is (stl) file type, size is 425.8KB.
The file '120 6×6 Cartridge For Polaroid Pack Cameras 3D Printer Model' is (stl) file type, size is 425.8KB.
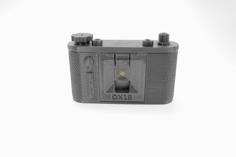
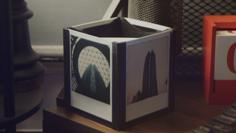
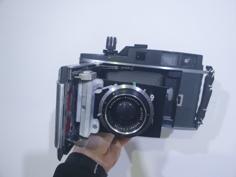
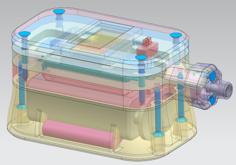
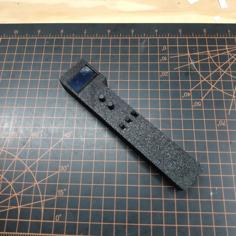
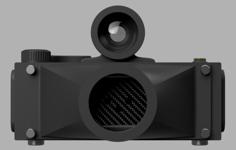
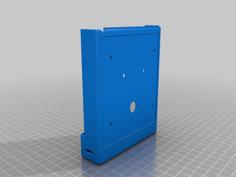
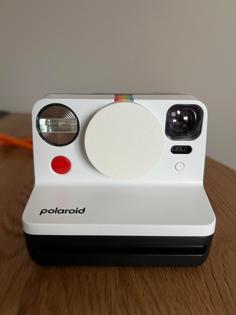
This is a further updated 120 cartridge which fits into a Polaroid pack film camera (Models 100 - 455) so it can use 120 film in 6x6 format. A back is also included which replaces the standard back. This latest update addresses light leaks in previous versions.
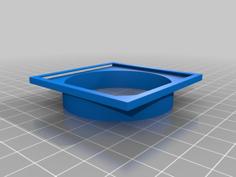
Print all the pieces using supports, with 3 or 4 top/bottom layers and 25% or so infill. Print the base using a small layer height (.1mm is good) to achieve the maximum strength and iron the top if possible. Sand the bottom side of the base and where it mates to the bottom of the cartridge (the wide edge is to the right of the cartridge right side up, or on the same end as the gears), then glue it to the bottom with the ridges protruding from the bottom.
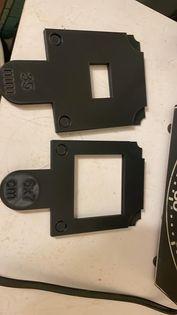
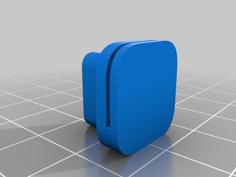
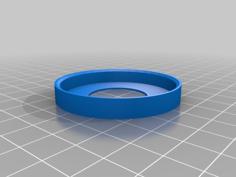
The drive gear drops in place in the top right of the cartridge and should snap in with a slight click. The thumb gear installs with a small screw through the hole in the cartridge. The film winds forward when the thumb gear is spun to the left. The gear cover, which prevents light leaks, glues in place after the gears are installed. Sand down the mating surfaces before gluing, use glue sparingly, and ensure the gears move freely after installing. Sand down any surface that contacts the film down to 600 grit so the film won't get scratched as it's pulled through the cartridge.
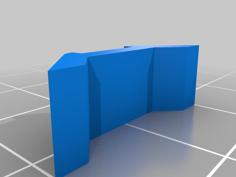
Turn the door over so the bottom of the door is facing up. You'll notice 2 small notches at the left end between which the hinge is glued. Glue the hinge so the hinge loops are facing down, aligning it between the two notches. Clamp in place until dry.
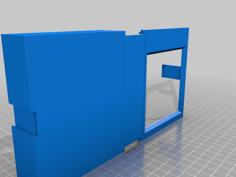
Remove the original back door by removing the hinge (you may have to remove the plastic pieces at both ends of the hinge) and install the new door. It may be tricky to align the hinge, and it may need to be filed slightly to fit. It would be best to insert the hinge pin into the 3D printed door before installing it, to ensure the print left enough room for the hinge.
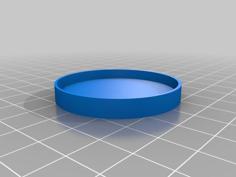
To load the film, install the 3 generic spool ends onto the 120 roll and take-up spool, and slip the take-up spool into the drive gear when the tab is aligned vertically (you may want to mark the gear when aligned vertically to later remove the spool). The loaded film spool sits in the left spool cutouts. String the film across and feed into the take-up spool, then install the pressure plate. Place the cartridge into the camera and carefully close the door, making the sure the retainer hooks engage.
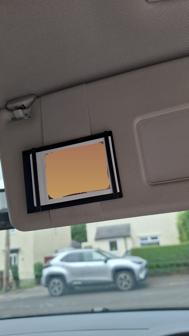
The film counter hole has been tested with direct sunlight and didn't leak light from tests with ISO 400 film. If you find it leaks, tape over the hole and advance the film in the shade.
| 120_6x6_base_v2.stl | 2.4KB | |
| 120_6x6_cartridge_v4.stl | 205.6KB | |
| 120_6x6_end_caps_v8.stl | 105.6KB | |
| 120_6x6_gears_and_cover_v8.stl | 447.5KB | |
| 120_6x6_Polaroid_back_v12.stl | 328.9KB | |
| 120_6x6_pressure_plate_v8.stl | 343.5KB | |
| 120_6x6_roller_v8.stl | 52.8KB | |
| 120_6x9_exposure_hole_door.stl | 113.0KB |